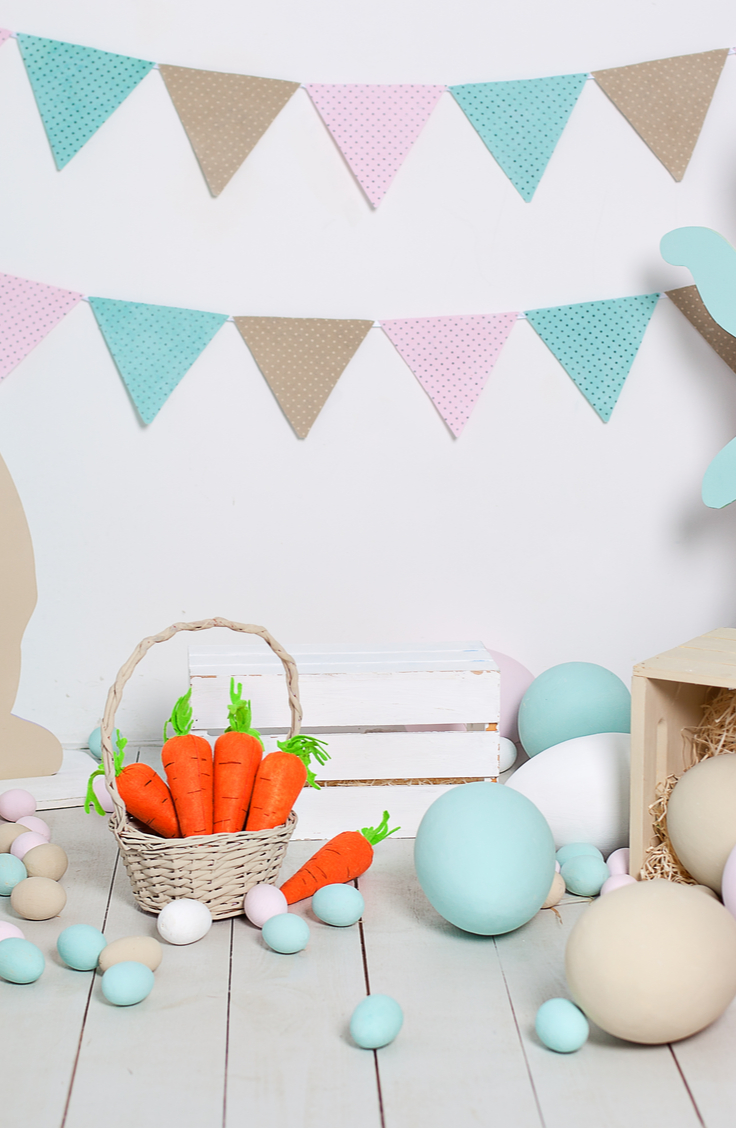
Fabric carrots are a cute DIY addition to any Easter decor. You can make them yourselves out of fabric scraps and only a little bit of time. This sewing project is super easy for beginners. You will love the results that you get! If you are looking for a fun DIY project this Easter season, try your hand at making the fabric carrots below!
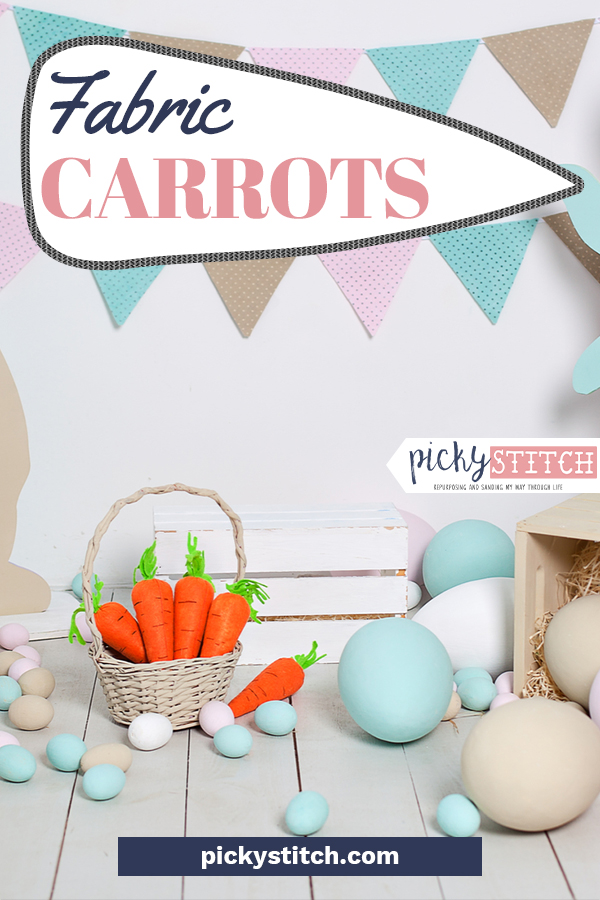
Fabric Carrots: Pattern
My favorite pattern is this one from A Confetti Life. The best part about this tutorial is that you only need to sew a few stitches to pull the project off! Feel free to use any fabric you would like…it doesn’t even have to be orange. It’s perfect as long as it is fit for Spring!
If it is easier for you to make these with the help of a video I recommend popping over to Debs Days. It’s so much easier with a video sometimes! She has a great YouTube channel and will walk you through this DIY project in a super easy to follow manner.
Fabric Carrots: DIY
In order to make your own DIY fabric carrots, you will need just a few craft supplies found around the house. You can even use scraps you have lying around from previous projects to pull this off. Find a full list of the materials needed to complete these DIY fabric carrots below.
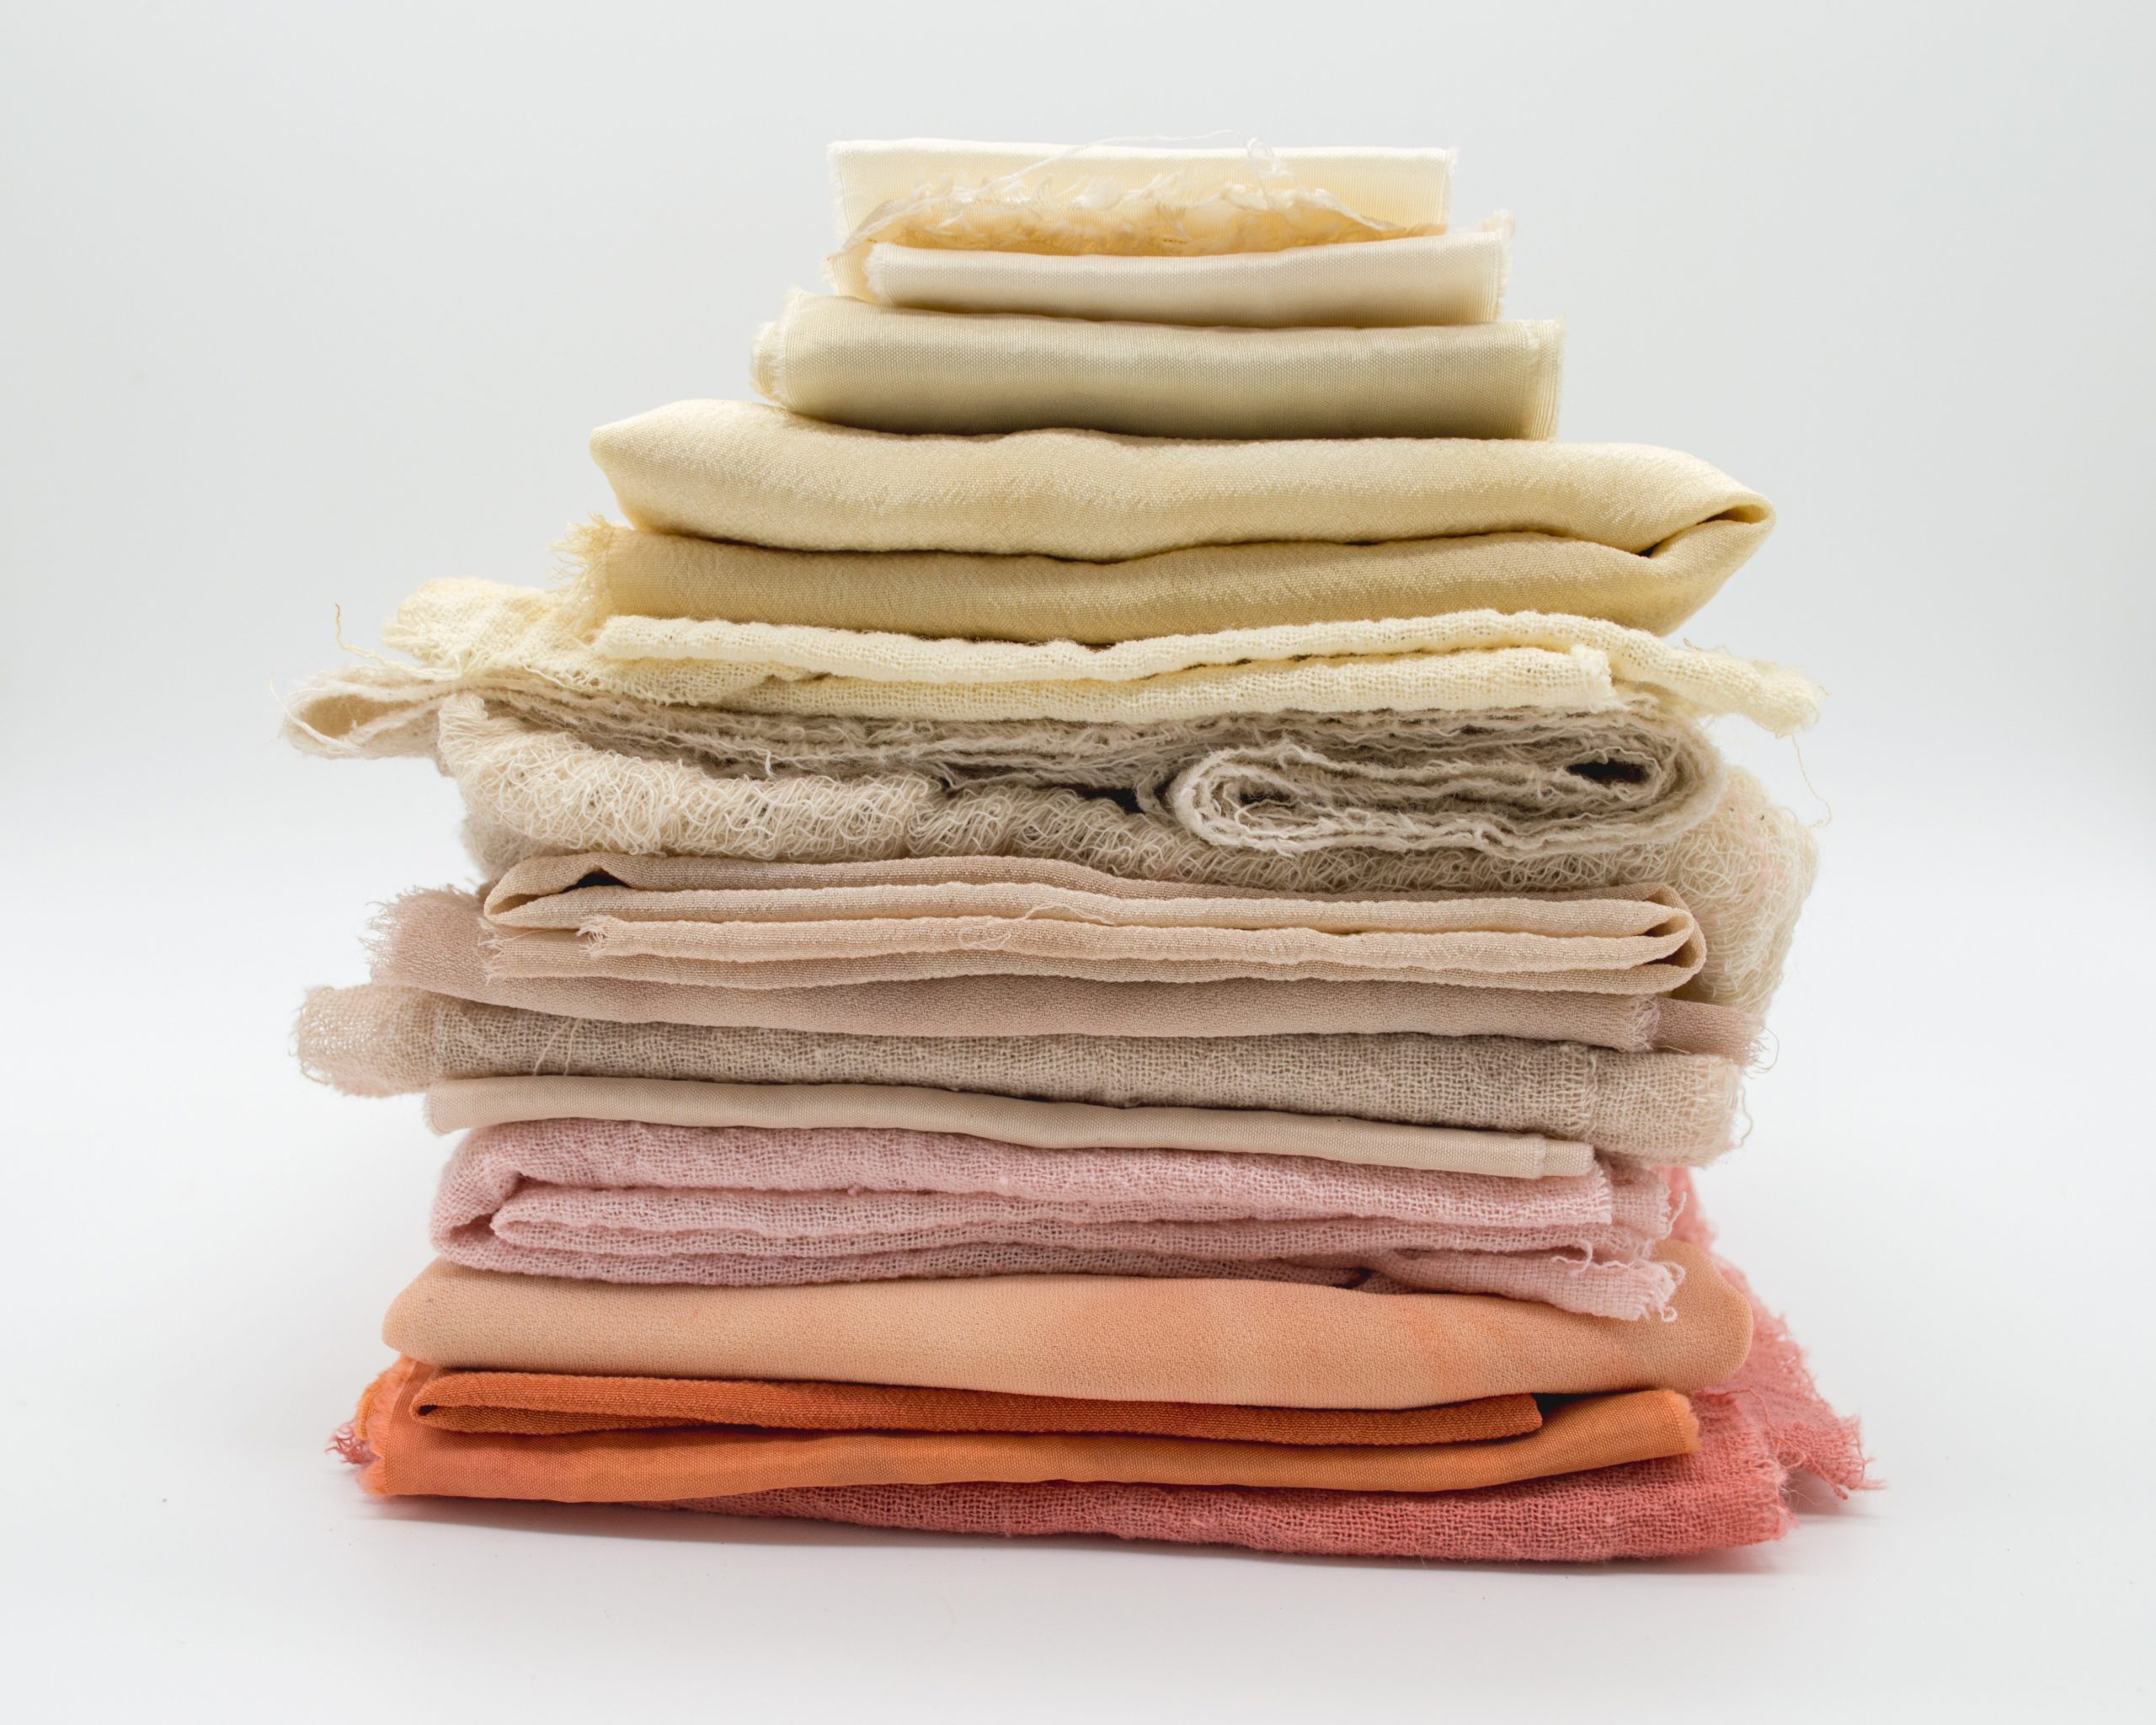
-Tons of scrap fabric (you’ll need a 12×12 inch piece to start)
-Filling
-Sewing machine (or thread and needle)
Fabric Carrots: How To Make
To make your own fabric carrots, I recommend popping over to one of the tutorials I linked to above for a full run-down of the process. However, if you can manage on the fly, you can follow my directions below for a quick explanation of the project.
Step One: Cut two 2.5 x 6.5-inch triangles out of fabric along with two 2.5 x 1.5-inch rounded leaves. Pin the fabric right sides together and stitch the fabric pieces together with a sewing machine.
Step Two: Flip the carrot so the seam is on the inside and your pattern is now right side out. Stuff full of stuffing. Once stuffed, loosely tie around the top with a needle and thread, pull tightly so the carrot closes and tie off. Sew the leaves on to the top of the carrot with a needle or sewing machine (it is up to you) and voila! You’re all done.
