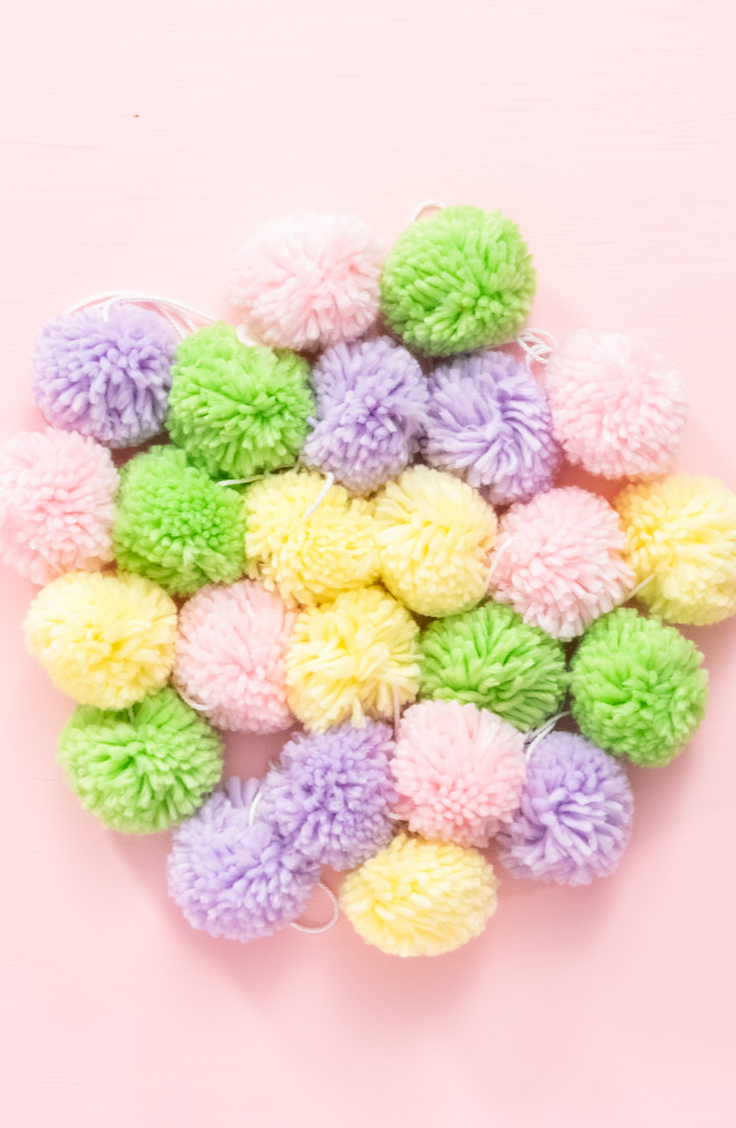
Keep your home organized and totally stylish with this easy tutorial for a boho DIY basket with pom poms. Believe it or not, this is such an easy DIY project that you could make more than one in no time at all. Check out the tutorial below.
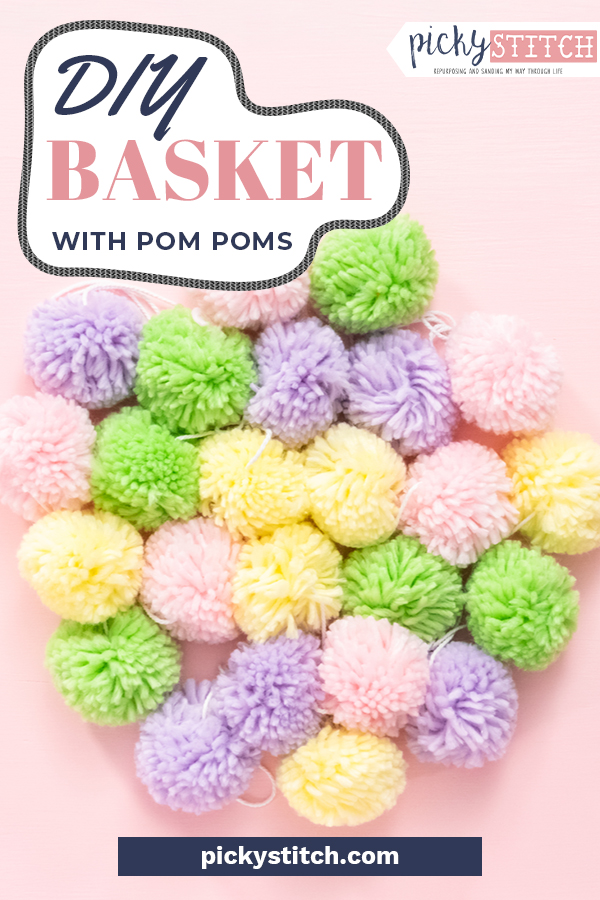
How To Make Your Own DIY Basket With Pom Poms
In order to make your own DIY basket with pom poms, you will need all of the materials on this list to make it happen.
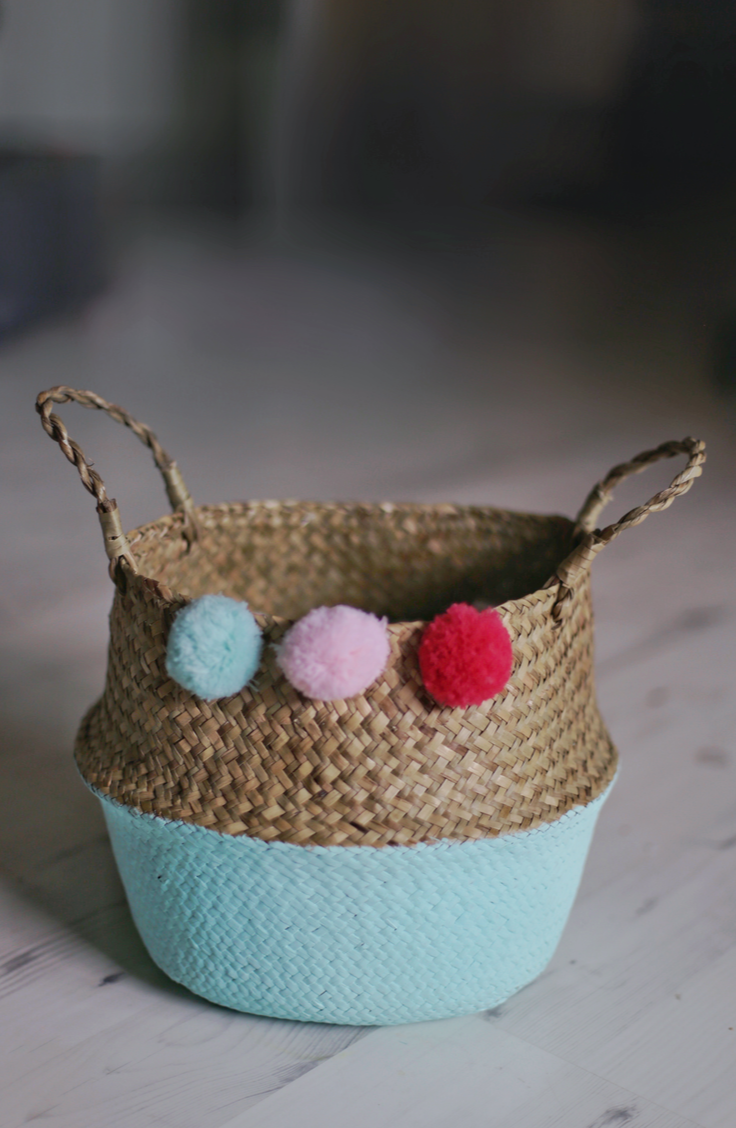
Here’s what you’ll need:
- Round woven basket (if you time it right you can get a good deal on one of these from Michaels.)
- Yarn (in a favorite color, of course)
- Scissors
- Hot glue gun (to attach your pom-pom to your basket)
Step One
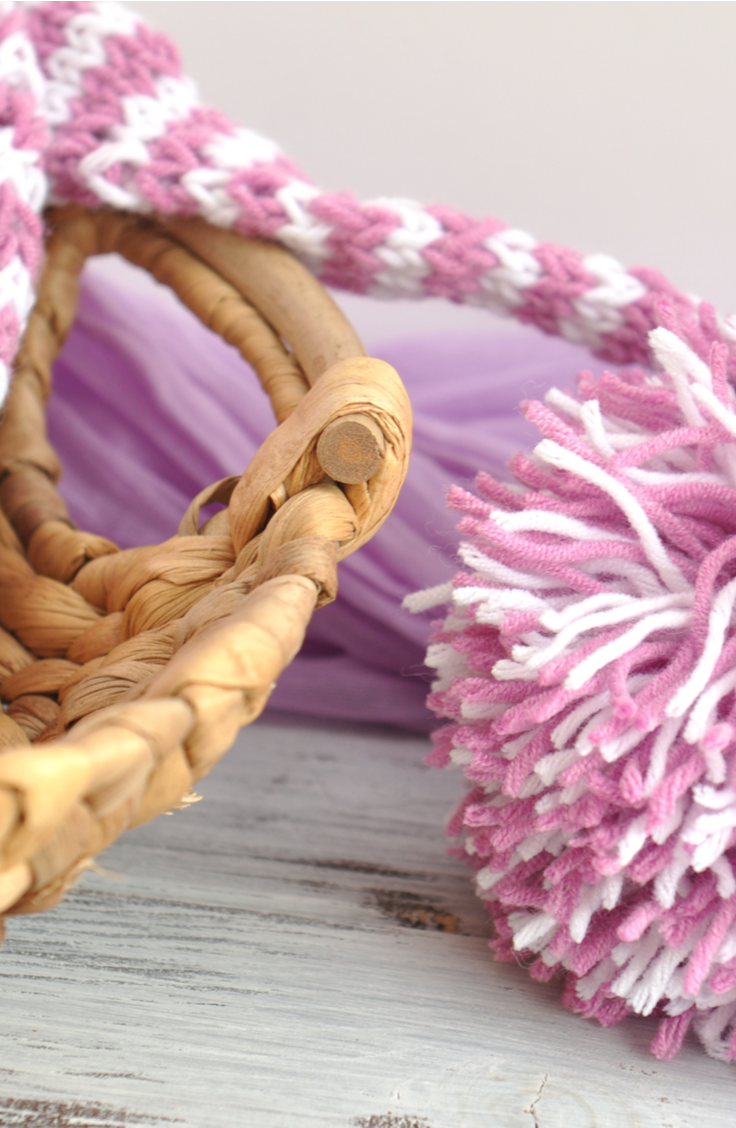
Find a good basket you like at a local craft store, and make sure that it is sized for your needs. For example, if you want to make a trashcan, pick a basket that is tall and skinny, as a trash can would be. If you’re going for more of a decorative look, you can choose any size of basket that you see fit.
Step Two
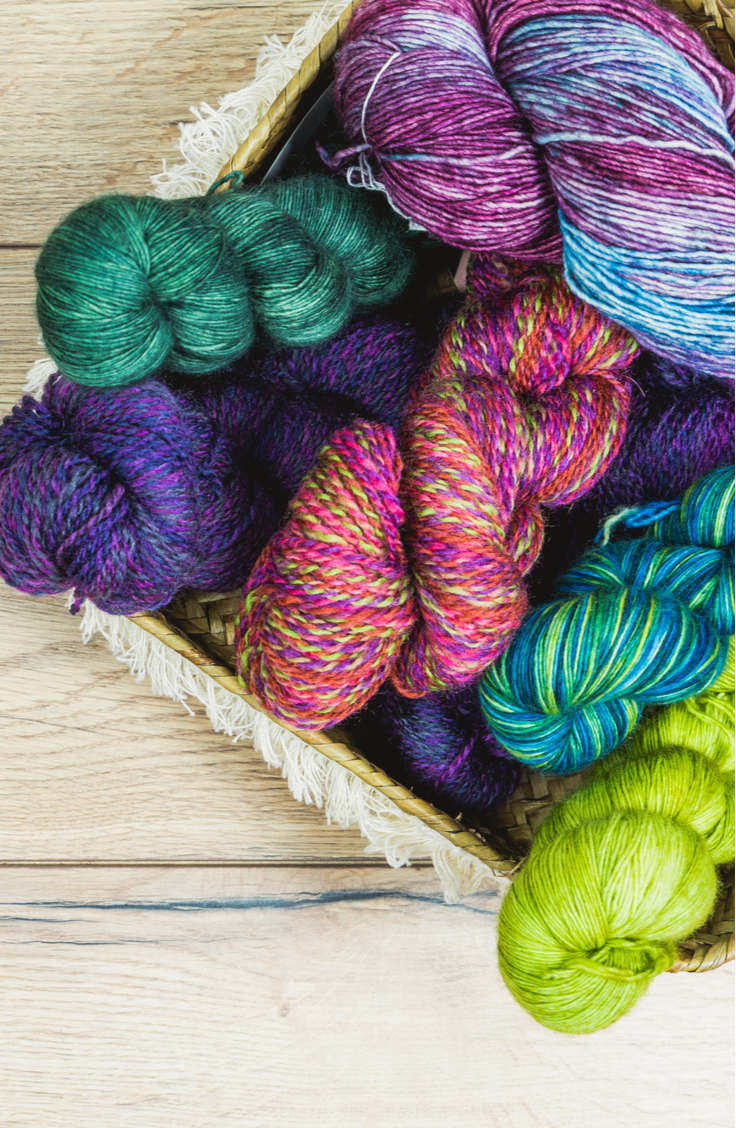
Now that you have tracked down a basket for your project, you’ll need to begin making your poms. And this is my favorite part! To make your own, put three of your fingers together and wrap the end of the yarn around them. You can wrap it as long as you want, but the longer you wrap, the fuller your pom-pom will be. Next, cut a piece of yarn that is about a foot long (this measurement doesn’t need to be exact, it just needs to be large enough to fit around the wrapped yarn. Insert the string of yarn between your fingers and tie it off (you may need someone else to help you with this) into a knot.
Step Three
After tying the knot off, slide the yarn off of your fingers. Oddly, this is often the trickiest part of the project for me! Once you’ve pulled off the yarn, ensure that it is tied tightly by re-tightening the knot that you tied in step two.

Step Four
Now, slide your scissors through the loops of the knot and cut all of the loops. Make sure that you keep the long pieces out of the way. As these are what you will use to attach the pom-pom to your basket. After the loops have been cut, give it a little fluff and trim any loose ends. Repeat steps 2-4 to continue making however many pom-poms that you need.
Step Five
Secure your pom-poms by tying the long ends around the wicker basket. Additionally, for added strength and stability, you can dot the back of your pom-pom with a bit of hot glue. This will help you make sure that the pom-pom is displayed exactly where you want it to be.
