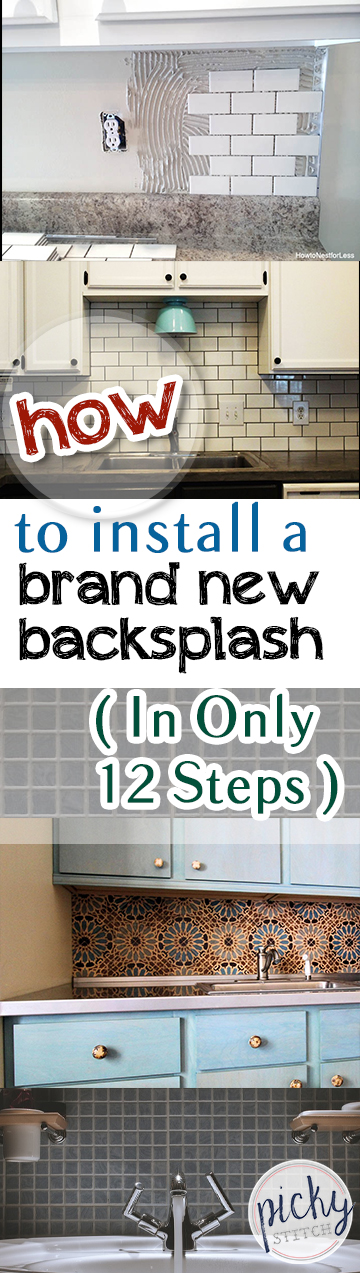
I’m dying to upgrade my kitchen, and I’m dying to do so on a budget! My husband mentioned his disdain for our outdated backsplash a few weeks ago, and after he pointed it out, I couldn’t un see it! Last weekend, we set out to completely re-install an entirely new kitchen backsplash. It took us a little longer than we planned, but the results are incredible, and we are in love again! Here’s how you can install a brand new backsplash (in only 12 steps!)
#1 Decide What You Want to Work With
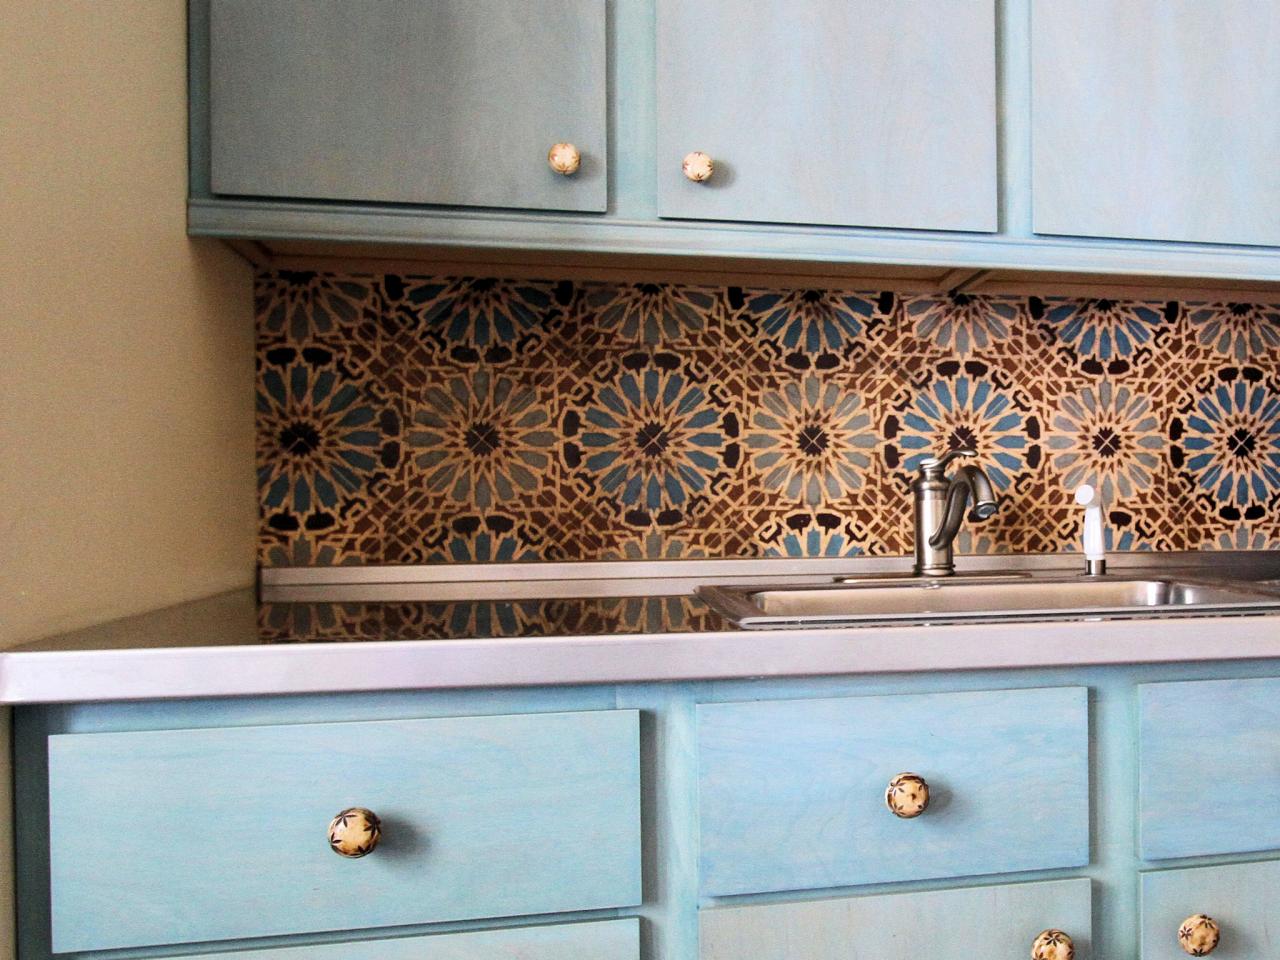
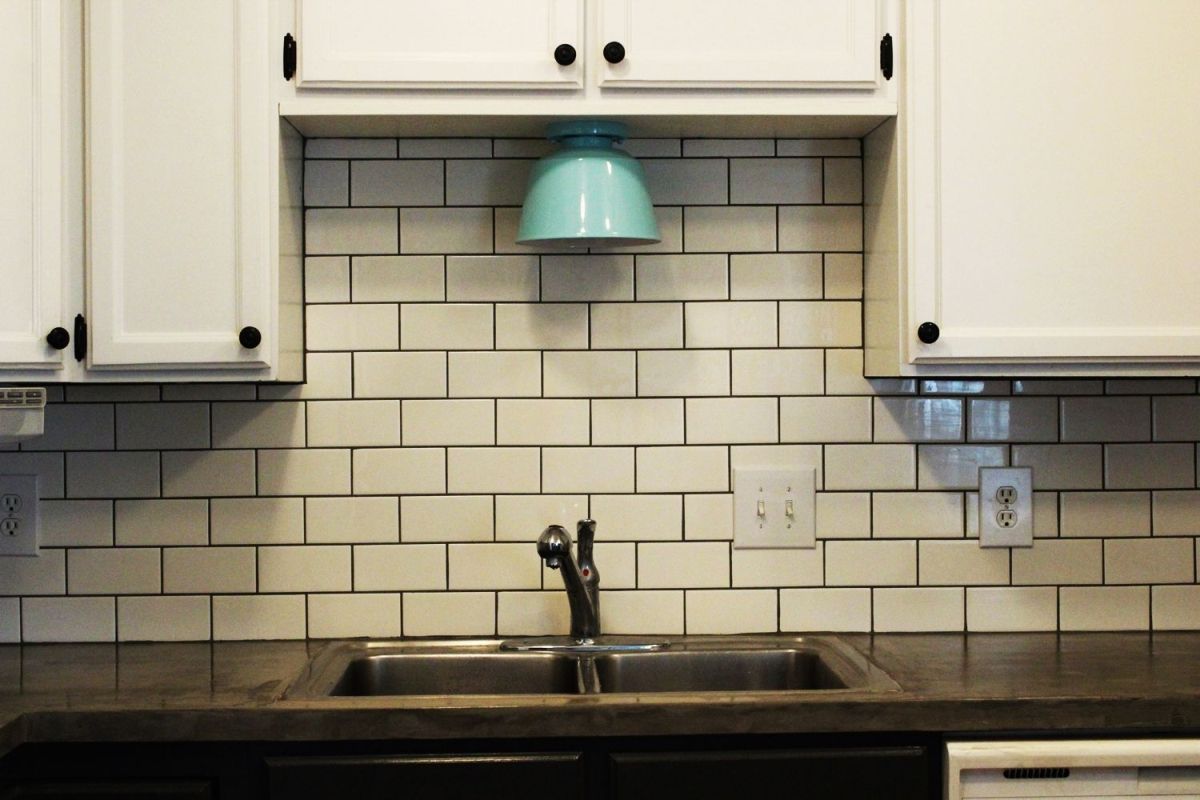
Naturally, the first step in the kitchen renovation process would be to determine what kind of tile you want to work with. I’ve been in love with the look of subway tile ever since I came across an immaculately tiled shower on Pinterest. I’m ready to commit to the look in my own home!
#2 Get Prepped
Cover your countertops with butcher paper, drop cloths, or old sheets. Make sure the coverings are fully secured! This will protect your countertop from any tile glue or grout. That stuff is nearly impossible to remove!
#3 Decide Where to Start
As with any project, one needs to determine a starting point. The dimensions of your work space, and size of your tile sheets will determine where your starting point is. The are above a sink or cooktop is a perfect place to start! Mark the “center” from your starting point, and use this as a reference as you lay your tile sheets.
#4 Make Sure You Have All Your Tools
You’ll want to make sure you have the following when laying a new backsplash:
– V-Notched Trowel
-A Tiling Float
-Spacers
-Towels (It WILL be messy)
– Scissors
-Tools to remove any hardware
-Your Adhesive
-Pre Mixed Grout
-A tile saw. (We used a wet tile saw)

#5 Pick Your Adhesive Wisely
Your tile adhesive is what separates your DIY backsplash from a long, eventful life, or a short lifespan of only a few years. Make sure that you choose yours wisely! When tiling vertically, you will need to use an adhesive with mortar. Read the labels and make sure your adhesive is able to withstand water if need be. Here’s what we used.
#6 Spread Your Mortar
Use the flat end of your trowel to smear a healthy dose of mortar onto your backsplash. Even it out as much as you possibly can! Once spread, use the jagged side of your trowel to create “ridges” in the mortar. Your tile won’t stick to smooth mortar!
#7 Lay Your Tile
Start from the bottom and work your way up your wall when laying tile. Remove excess mesh before placing tile. Trust me!
#8 Make Sure It’s In Place
Use your tile float to firmly push your sheets or pieces of tile into place. Spend the time to make sure each sheet is perfectly in place! The outcome of your DIY project depends on it!
#9 Fill The Gaps
Depending on what kind of tile you use, there are bound to be awkward spaces! Use a tile saw to custom cut your remaining tile pieces to fit into any gaps.
#10 Clean Up Your Mess!
Wait two hours for your tile to completely “set” before completing this step! Once it has, use a toothbrush to scrape away any mortar that was hangin’ out where it shouldn’t be. Next, you’ll need to wait 24 hours before moving onto the next step!
#11 Time to Grout
Use your float to “smear” grout across the surface of your tile. It’s hard work, but really press it into the grout lines, and make sure all of them are filled. After you’ve done a small area, use a damp sponge to wipe of the excess grout. Your arms might be sore in the morning!
#12 Seal Things Up
Use a tile sealer to keep your grout looking great! Sealing your grout will keep it from becoming discolored over time.