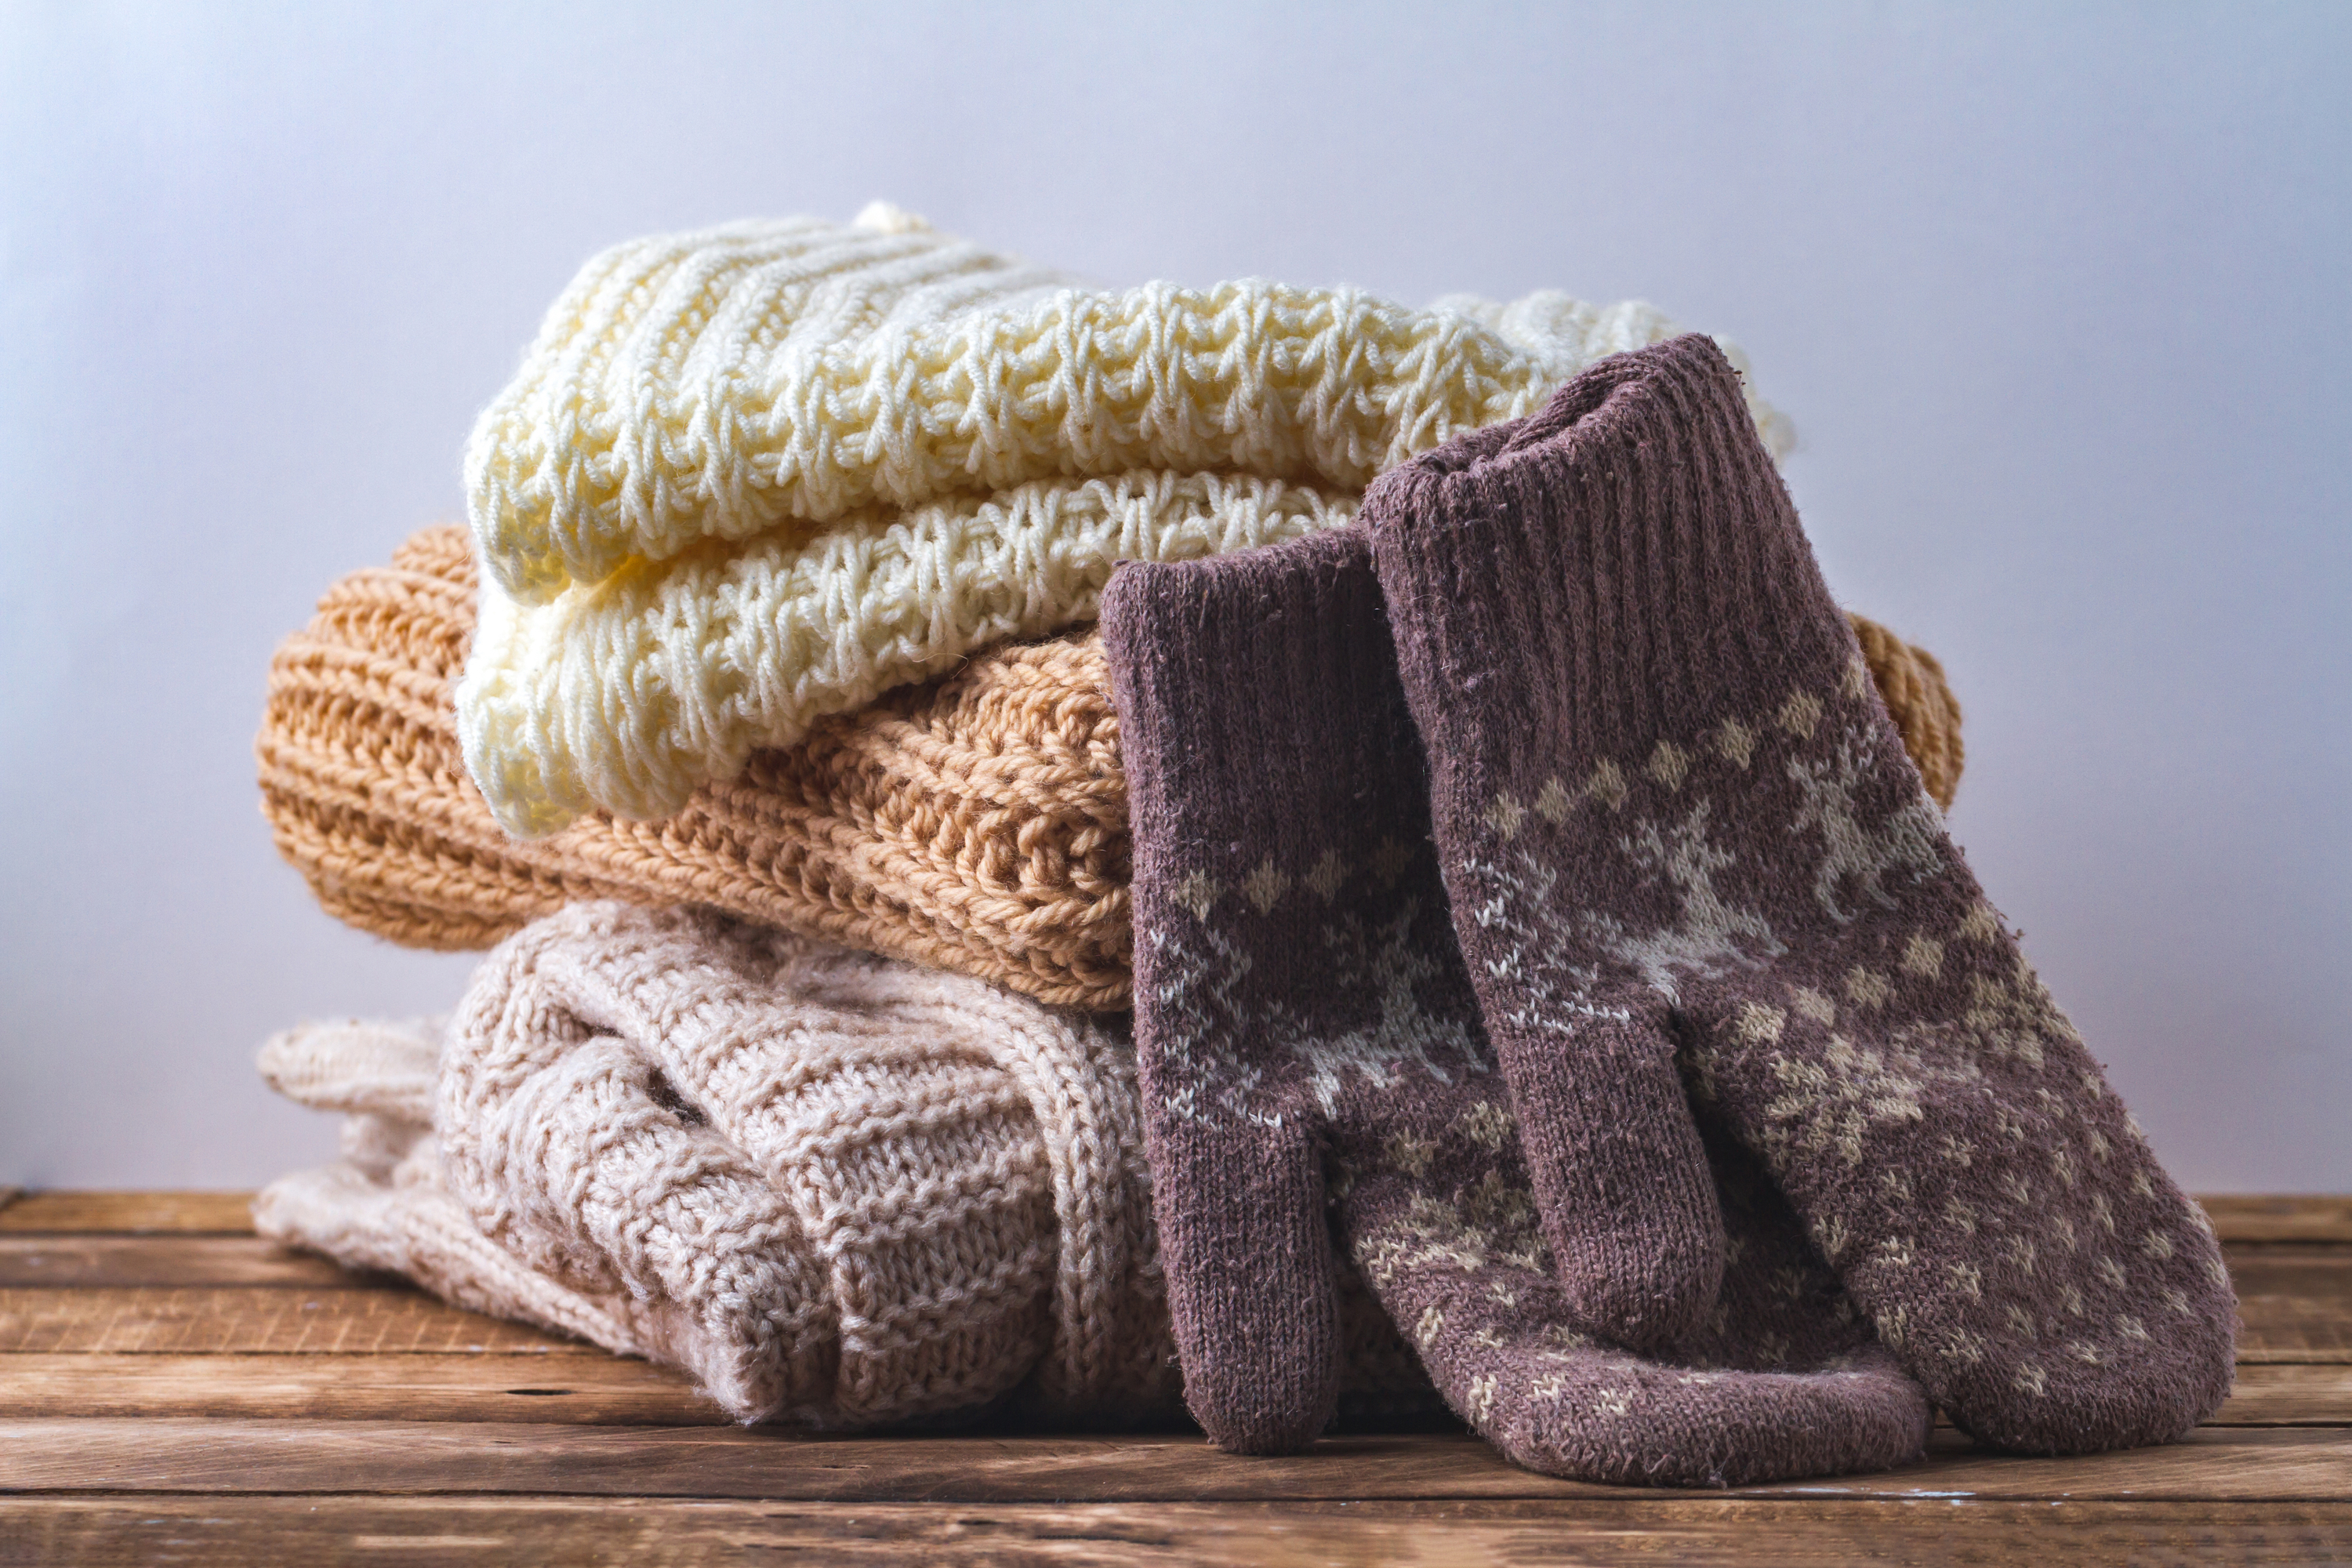
Just the other day, we had a cold spell in my neck of the woods and I couldn’t find my gloves to scrape the ice off my car in the morning. Needless to say, my hands were frozen for a few hours afterward. But I didn’t want to buy a new pair of gloves, I wanted to make a pair instead! So I took one of my favorite sweaters (that may or may not be wearable due to the hole in the sleeve) and turned them into an incredibly cozy pair of sweater mittens. Follow the tutorial below to see how I did it.
Here’s What You’ll Need For Your Sweater Mittens Fleece Lined
-An old sweater (one that is 100 percent wool preferably)
– A t-shirt (for the lining)
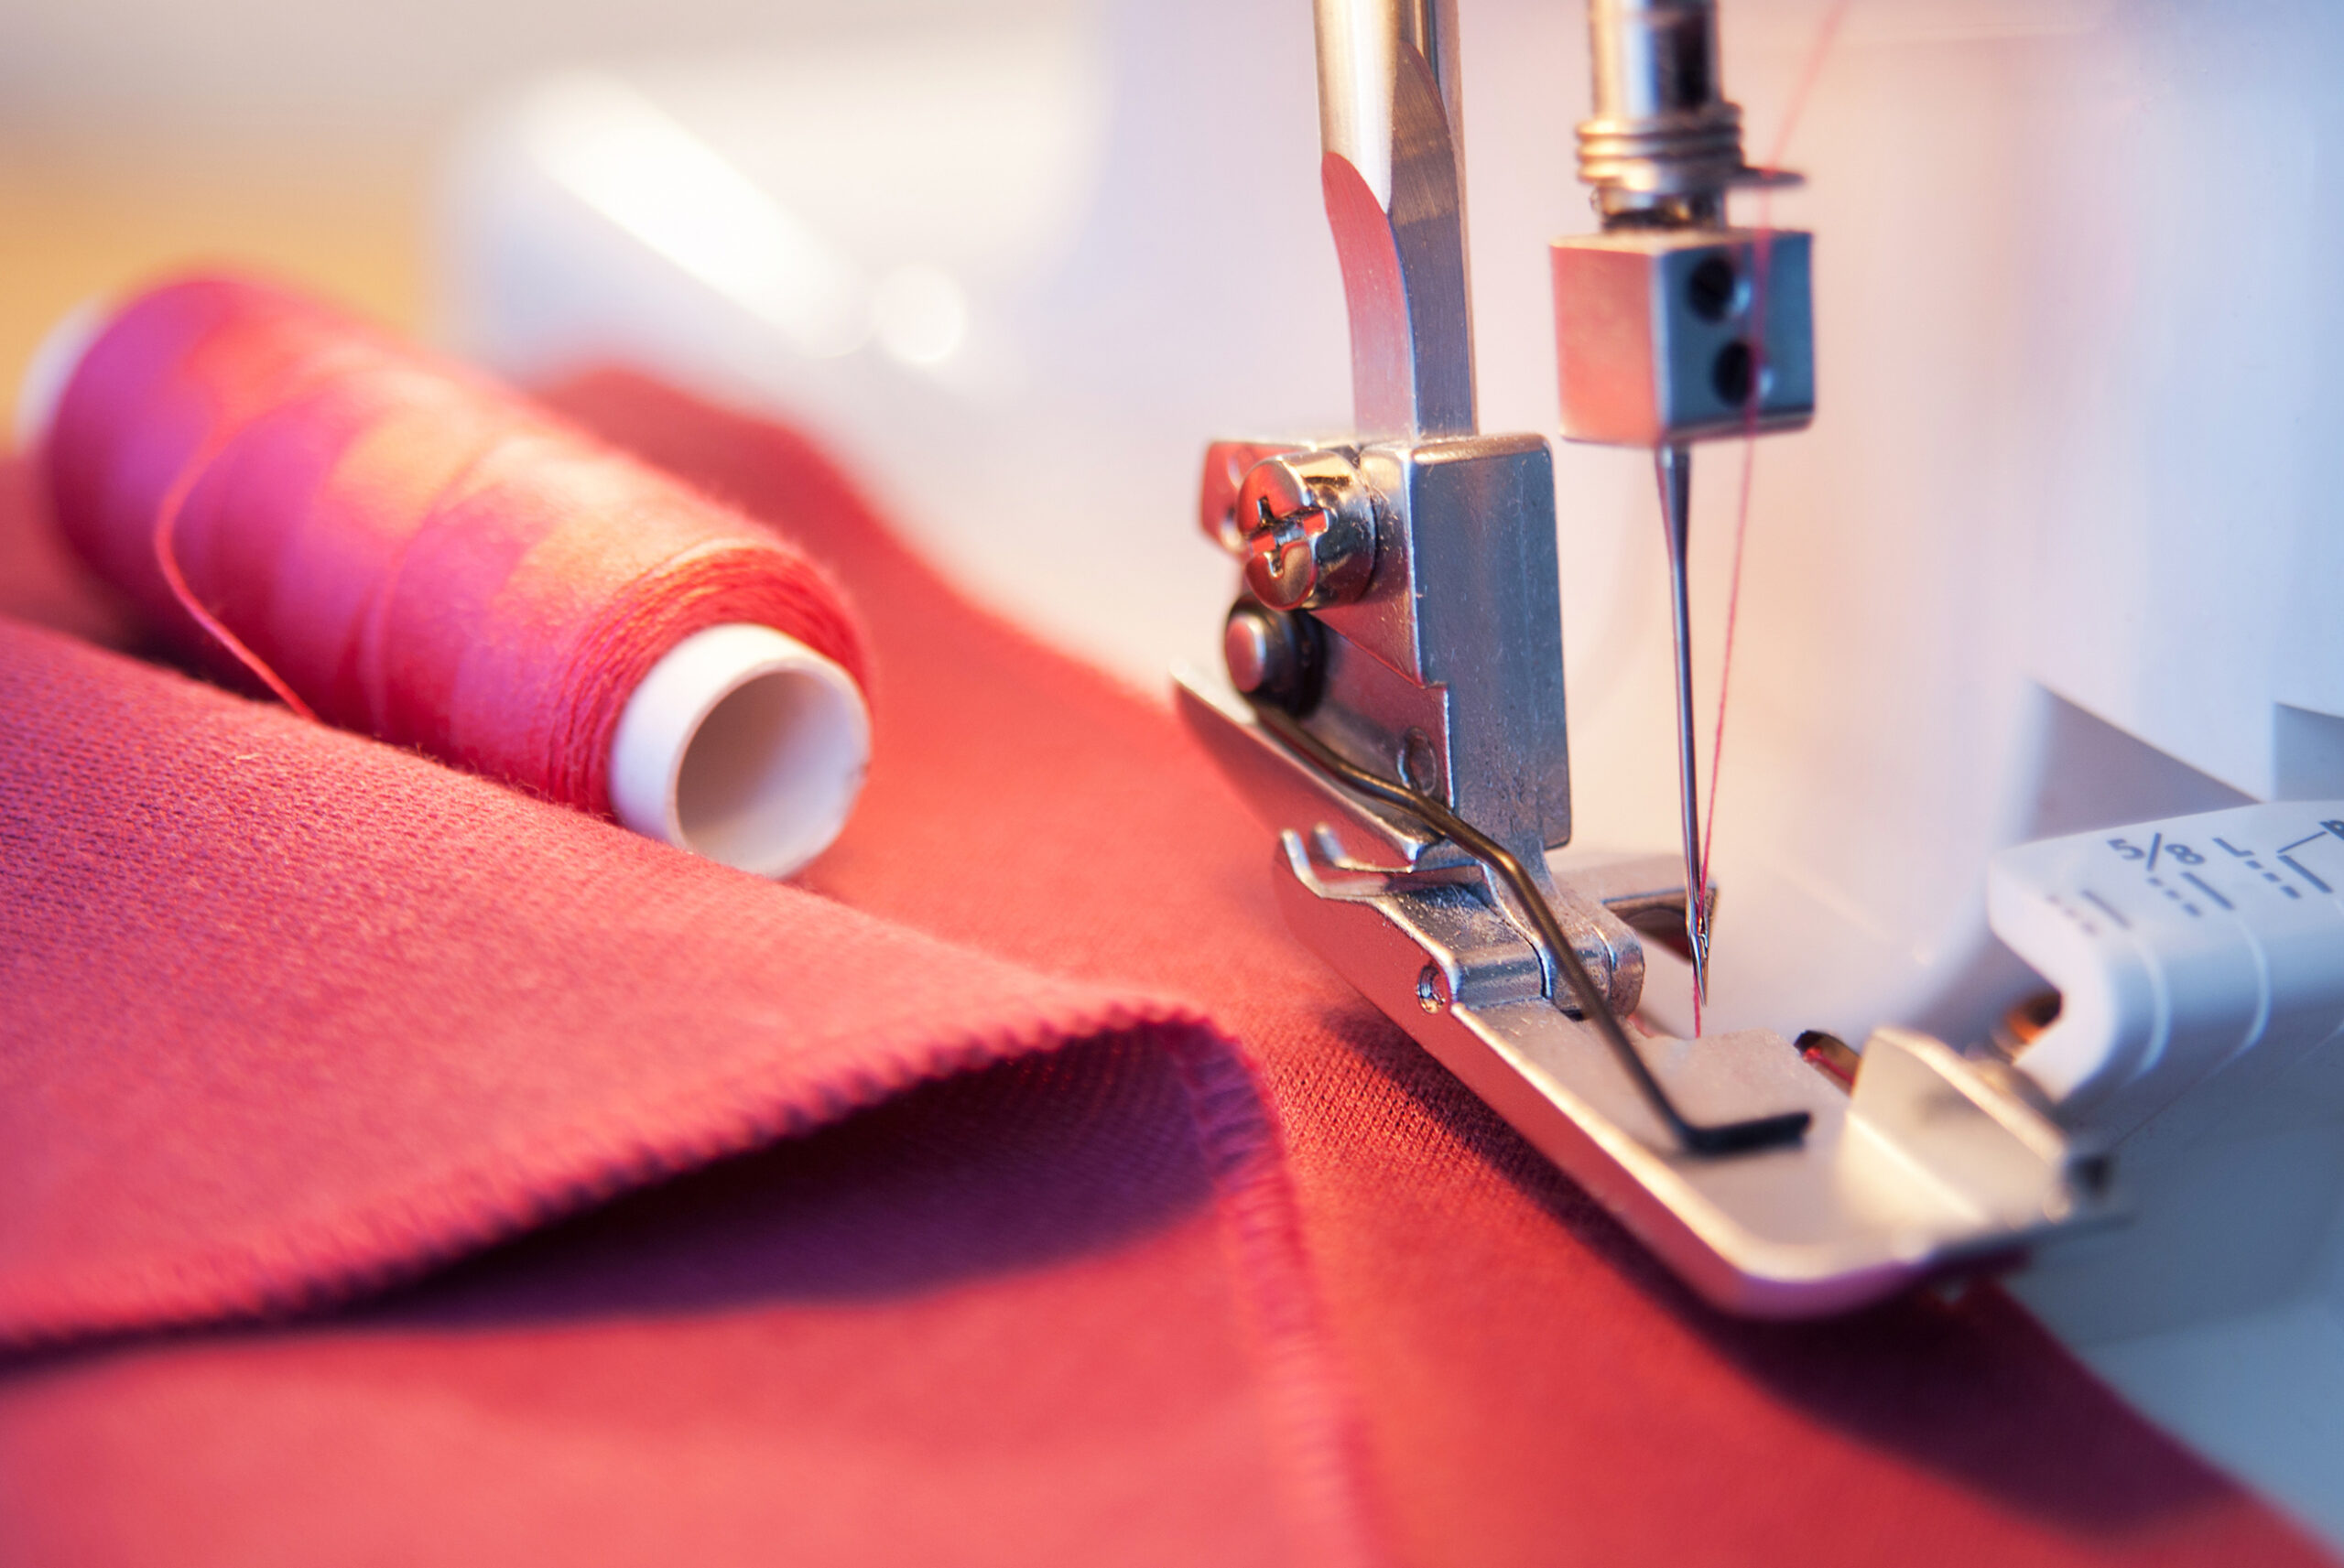
-Sewing machine
-2-3 yards of wool yarn with a large needle
Sweater Mittens Pattern Free

Step One
“Felt” your old sweater by throwing it in the washing machine in an old pillow case and washing on HOT. Check the sweaters throughout the wash cycle to see if they are ready or not.
Step Two
Cut 4.5 inches off the ends of both sleeves and use this free printable to cut out the correct shape. Cut the sweater so that it fits within the limits of the outermost line of the pattern. You will need four pieces in total, one for each side of the mitten.
Step Three
Line up both pieces of the mitten, with the wrong sides on the outside. Start on the straight edge and pin the fabric together around the thumb and down the side.
Step Four
Sew both sides together, leaving a 1/4 seam allowance.
Step Five
Match up palm piece with mitten back, right sides together.
Step Six
Line up and pin the edges, and sew the edge with a 1/4 seam allowance.
Step Seven
Repeat the steps above to finish the other mitten.
Step Eight
Trim the mitten pattern so that you just have the lining outline left. Use the templates to cut the desired shape out of your t-shirt or other lining fabric.
Step Nine
Follow the steps above and sew the pieces of lining together.
Step Ten
Put the lining on your hand (right side in) and slide the mitten over the lining. Wiggle around and make sure everything feels comfortable.
Step Eleven
Take the 4.5 inch tube from the sleeve and flip it inside out. Slide the end that you cut about an inch into the mitten and sew the lining, the mitten, and the tube together with your large needle and yarn. Sew around the base three times.
Step Twelve
On the third time, flip the cuff up and sew in place with the other layers. There should be four that you are sewing together now. Repeat the process so that all layers are completely secure, and tie things off with an accessory or something like a button or two.