
If you are wondering how to make shirts with Cricut, you are reading the right article. Creating shirts with Cricut is rather simple. You can get the hang of it even if you are just a beginner.
You can get crafty with Cricut just for fun or even for starting a small business. Here, you will learn how to make shirts with Cricut from the beginning.
How to Make Shirts with Cricut – What Is A Cricut Machine?
A Cricut machine is designed to cut various materials for your crafty ventures. You can cut materials like vinyl, paper, and cardstock with the machine. Some Cricut machines can even work with leather, wood, and fabric.
A Cricut machine can be one of the most powerful devices in your craft arsenal. From shirts to greeting cards, you can create a number of interesting items from Cricut.
Types of Cricut Machines

Different machines are available so you can learn how to make shirts with Cricut. Here are the top three ones:
Cricut Explore
This is one of the bestselling Cricut machines. It is a mid-level model that is well-suited for novices and experienced crafters alike. It can cut various kinds of materials, such as:
- Vinyl
- Paper
- Cardstock
- Fabric with a stabilizer backing
- Some types of leather
Cricut Maker
Cricut Maker is an expensive and advanced cutting machine. Moreover, it is durable as well as versatile. You can use it to cut over 300 materials, such as fabric, leather, wood, felt, plastic, and acrylic.
The machine can also be used with tools and blades, such as knife blade, foiling tip, engraving tip, rotary cutter, and debossing tool.
Cricut Joy
This is the latest Cricut model to help you easily figure out the answer to how to make shirts with Cricut. It can also cut paper, iron-on, vinyl, and certain fake leathers. Moreover, Cricut Joy is a smart machine that is easy to install and use. Furthermore, as it is compact, it is portable and can be stored in a small space.
How to Make Shirts with Cricut?

Want to know how to make shirts with Cricut? It may seem intimidating at first, but it is rather easy. First, here are some of the essential items required for the process:
- Cricut Explore Air OR Cricut Maker
- Iron OR Cricut Easy Press
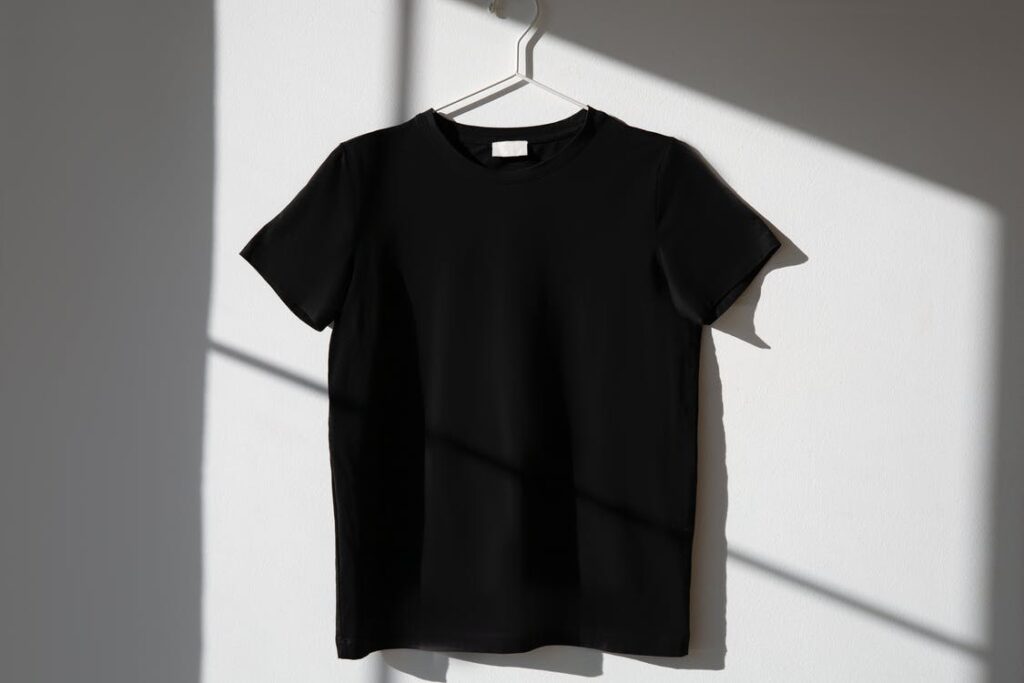
- T-Shirt or shirt
- Iron-on vinyl material
- Weeding tool
If this is your first time using a Cricut machine, try to keep the design simple. Furthermore, know that more complicated your design is, the more difficult the process will get.
Iron-On Vinyl 101
Iron-on vinyl is a kind of craft vinyl. It entails the use of a heat-activated adhesive. The material adheres to surfaces like fabric when used with a heat-emitting appliance such as an iron or Cricut Easy Press.
If you want to know the difference between a heat-transfer vinyl and an iron-on vinyl, it is quite simple. There is no need to be confused as both names refer to the same item.
Different Kinds of Iron-On Vinyl
Don’t make the mistake of believing that all heat-transfer vinyl are the same! When thinking about how to make shirts with Cricut, know the 6 different types of Cricut iron-on vinyl:
Everyday Iron-On
This easy-to-use iron-on is best for beginners. Moreover, it is versatile as well as durable. Everyday Iron-On comes in 28 colors, along with several samplers.
Everyday Iron-On is a heat-transfer vinyl that can serve as a foundation layer. Moreover, you can layer any other kind of heat-transfer substance on top of it. Furthermore, this material can tolerate more than 50 washes if used according to instructions.
Pro tip: Use the warm peel method. This is essentially a technique of removing the plastic backing from the iron-on once you have adhered it to the material.
SportFlex Iron-On
If your fabric stretches, using SportFlex Iron-On is a great idea. However, make sure you do not layer while using this HTV. Clothes like polyester jerseys are quite suitable for SportFlex Iron-On.
Patterned Iron-On
They are available in different samplers that offer a maximum of three corresponding design patterns. However, remember not to use Patterned Iron-On as a base layer. It can simply be put on top of other iron-on materials.
Pro-tip: Use cold peel technique. This involves peeling the plastic backing off the iron-on once you have already applied it to your material.
Glitter Iron-On
Glitter Iron-On has a variety of samplers and can give a unique look to your shirts. However, make sure you do not put any iron-on material on top of Glitter Iron-On, as it may cause the glitter to peel away. Also, remember to use warm peel technique with this HTV.
Holographic Iron-On
A holographic iron-On is a great way to grab people’s attention. Blue or green color looks best on water-themed designs. However, don’t use Holographic Iron-On as a base. You can layer it upon Everyday Iron-on. Moreover, use warm peel technique for best results.
Foil Iron-on
Foil Iron-on is a popular option when it comes to designs for parties or festivities. Like Holographic Iron-on, make sure you do not use Foil Iron-on as a base. Moreover, cold peel technique is the right way to go when using this HTV.
How to Make Shirts with Cricut

Here are some easy steps to help make a shirt with Cricut:
1. Come Up With the Shirt Design
Firstly, upload the design or make it on Cricut Design Space. Secondly, through this program, you can search for current projects or form one of your own.
If you don’t have access to Cricut Design Space, there is good news for you. It is available for free online. You can either opt for the desktop program on Windows or Mac or download the Design Space application for your smartphone.
A. Select An Existing Design
The Cricut Design Space contains an array of designs to help you understand how to make shirts with Cricut. You can access them by gaining membership. Navigate to the “Projects” on the left sidebar, type “shirt”, and check out the results
However, if you are a novice, begin with an easy, single-color design. Moreover, keep an eye out for large letters and simple shapes that you can weed out easily.
B. Upload Image
You can choose to either purchase or download an SVG file for free. Next, upload it to Cricut Design Space. Choose on the Upload option on the sidebar. Next, upload your image. Finally, you can use the uploaded file on your latest project.
C. Make Your Own Design
You can use the options in Cricut Design Space to make your unique designs. Take this route especially if your design is based on text.
Shirt Design Size
Firstly, the shirt design should ideally be a minimum of 10 inches lesser than the breadth of the shirt. The width should be measured from one armpit to another. Nevertheless, this is not a strict rule, and you can make your design as big as you like.
Selecting a Shirt Template
You can easily visualize the design of your iron-on shirt even before cutting it. To do this, you can choose a template. You will find some creative ones in Circuit Design Space.
Firstly, choose “Templates”. You will find the option in the top left corner. Secondly, select “Classic T-Shirt”. Here, you can choose a size, color, and style from the drop-down menu. Using a template gives you the advantage of resizing your design. This will ensure it fits perfectly on your shirt.
Resize the Design
Want to know to make shirts with Cricut according to your shirt size? You can do so by adjusting the design size. To alter the design size, you just have to look for the resize handle. Once you choose the image, you will notice the resize handle on the right-side corner of the screen.
Now, simply click and drag it in order to reduce or enlarge the design. You can also enter your own dimensions into the Size boxes.
2. Iron-On Vinyl Cutting With Cricut
This stage first involves preparing the vinyl and mat. To start, place the vinyl onto the cutting mat. It is best to use a LightGrip cutting mat (blue in color) or a StandardGrip one (green in color), which is less sticky.
Secondly, roll the vinyl using a brayer option so that it is flat and sticks well to the cutting mat. You must have observed how the vinyl is flat on one side and shiny on the other. The shiny side contains the plastic backing sheet, also known as a plastic liner or plastic carrier sheet.
Make sure you always place the vinyl on the mat with the shiny side down. This is to ensure that the machine cuts the vinyl instead of the plastic sheet. In case you are working with a patterned vinyl, the patterned side would be placed downwards.
Finally, when you are done, click on the option to place the mat into the Circuit machine. Next, navigate back to Cricut Design Space to transfer the file to the machine. Here is how to go about it:
- Press the green “Make it” button.
- On the “Prepare” screen, press the “Mirror” option to switch it on. Note that it is important to mirror all designs before cutting them. Now, select the “Continue” option.
- Choose a base material on the following “Make” screen. You can pick Everyday Iron-On among the “Popular” list, or select a special type of vinyl through the “Browse All Materials” option.
It is now time to cut. Start by loading the Fine-Point blade along with the mat. Next, click the “Go” option to start cutting the design.
3. Weed the Design
Once the iron-on is cut out, you must take the mat out of the machine. Weeding refers to eliminating the extra vinyl that you do not want on the shirt. As example is the circle shape at the center of the letter “O.”
Take out the extra vinyl using the hook-shaped weeding option. Once you begin, you can even get rid of some of the vinyl with your fingers. After you are done with the bigger pieces, use a small instrument like tweezers to pull out the smaller parts.
4. Pressing
It is now pressing time. Start by preparing your workspace. Place the EasyPress mat on a clean towel. The towel should preferably be kept on a robust, even, and heat-resistant top. As you would exert a certain amount of pressure, make sure you don’t use a frail ironing board.
Now, heat your Cricut EasyPress on your iron by referring to the Cricut Heat Guide. This guide will inform you about the pressing time along with the precise temperature for the type of vinyl and shirt material you are working with.
With an iron, remember to adjust it to the Cotton/Linen setting. This is typically the hottest. It is also crucial to make sure the steam is turned off.
Finally, it is now time to lay out the shirt on a flat EasyPress mat. Heat the shirt for about 5 seconds. This will help get rid of wrinkles.
5. Apply Iron-On Vinyl
When finalizing how to make shirts with Cricut, the final step is to apply the iron-on vinyl. Set the vinyl design in the middle of the shirt. Placement a couple of inches down from the shirt collar usually gives the best appearance.
Pro tip: Firstly, to locate the center of your shirt, fold it halfway and gently press the edge to form a crease. Upon unfolding the shirt, the center-line will be indicated by crease formed. Use the same technique to figure out the center of the vinyl design.
Secondly, put the vinyl on the shirt with the glossy part facing upwards. In other words, the plastic liner would be turned up while the vinyl side would make contact with the shirt material.
Thirdly, consult the Cricut Heat Transfer Guide to know how to heat the vinyl. Now, turn the shirt to the other side and heat design’s backside. Peel off the plastic sheet once the shirt is cool to touch.
Some types of vinyl, such as Everyday Iron-On, Glitter Iron-On, and Holographic Iron-On, require peeling while the shirt is warm. This means the plastic sheet should be removed while the shirt is still warm.
How to Make Shirts with Cricut – Benefits of Using Cricut

The answer to How to make shirts with Cricut can be fun and easy. Here are some of its prime benefits:
Versatility
Machines like Cricut Explore, Cricut Maker, and Cricut Joy are quite versatile.
Now, Using them, you can create a variety of items such as labels, artwork for a room, journals, tote bags, shirts, decorations, paper flowers, and other random cut files. You can use your Cricut coupled with your talent to help out your friends with their projects.
Time-Saving
Crafting items without Cricut is bound to involve hand cutting. A Cricut is much faster and efficient in comparison. It saves your hands from cramping as well as your time. Learn how to make shirts with Cricut so that you can complete more work in the same amount of time.
Customization
With Cricut, you can make custom projects and upload your own designs. You can personalize everything according to your liking so that they are special for you. You can even personalize gifts by having the person’s name on them.
Simple to Learn
It is quite easy to study how to make shirts with Cricut. At first, you may find it a bit overwhelming. However, once you start learning, you will soon get the hang of it. Begin with simple projects, after which you can gradually advance to complex ones.
How to Make Shirts with a Cricut –Final Thoughts
While a Cricut machine may look complex at first, you can quickly understand how to make shirts with Cricut. First, you need to ensure you have all the required materials. Next, simply follow the step-by-step instructions in this article to proceed.
If you have a penchant for arts and crafts, a Cricut machine is a perfect addition to your toolkit. Not only can you know how to make shirts with Cricut, but you can also create a variety of other items like labels, bags, and decorations.