Have you ever tried your hand at creating your own floral arrangements or wreaths? Believe it or not, they’re actually easier to make than it may seem, and it’s really fun to sit back and admire what you’ve created. Plus, if you can never find a wreath you love at the store, what better way to get what you want than creating one of your own? Here’s how to make DIY wreaths for Spring.
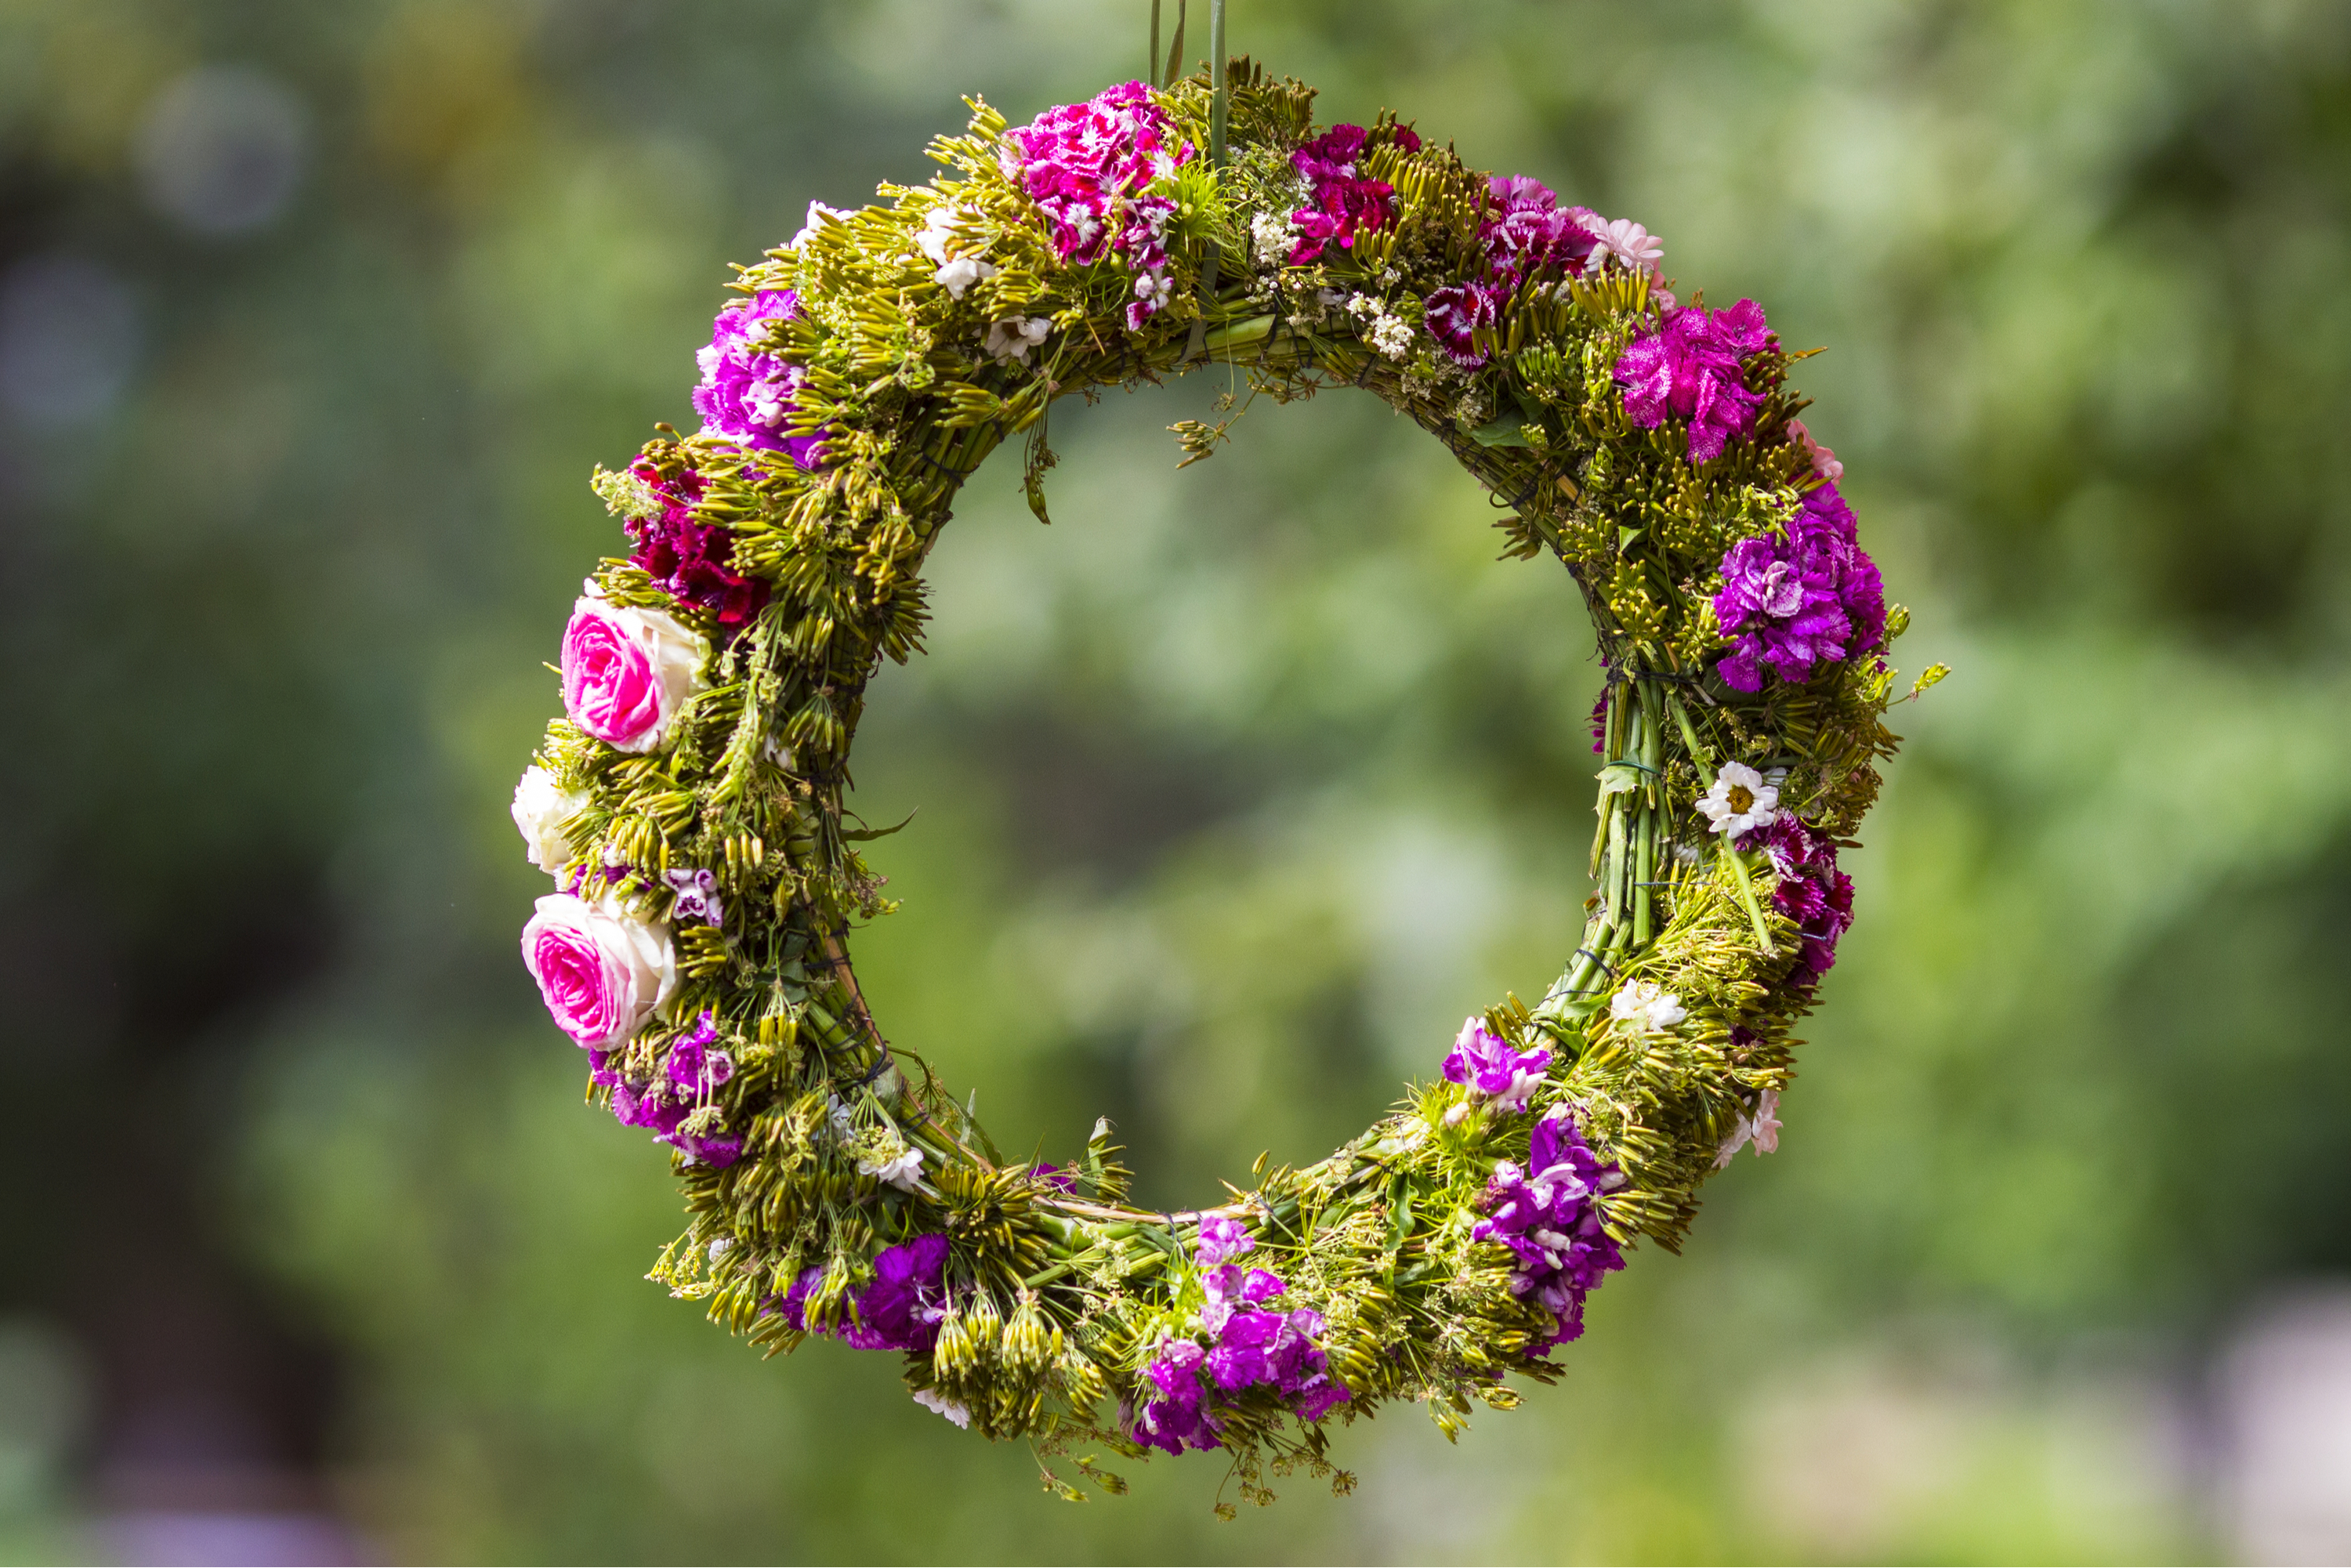
Here’s What You’ll Need To Create Your Own DIY Wreath For Spring
–Floral Wire (I love this kind from Amazon. It’s cheap and it works great!)
-Floral Tape (Again, I love this variety from Amazon)
-Bouquet of your favorite flowers and plenty of greenery for filler. I love going to Trader Joe’s for fresh cut flowers and greenery. The quality is amazing and they stay pretty for weeks.

Step One
To begin, determine the size of your wreath. Once determined, wrap floral wire in the size of your desired wreath three times over. This will be the form of your DIY spring wreath. You’re going to love how this floral arrangement turns out!
Step Two
Now that the wire form is created, it’s time to begin filling in your wreath. Begin adding small accents (like tiny flowers and lush greenery) into the wire. Use floral tape to secure your pieces, remembering to hide the tape as best you can while filling in the wreath. You can even use other pieces of greenery to cover up those unsightly tape marks!
Step Three
Now’s the time to add the statement pieces! Pick two or three of your favorite large, dramatic flowers to act as the centerpiece. Choose breathtaking blooms like peonies, sunflowers, or hydrangeas. However, though it can be tempting to add tons of statement blooms, I find it best to keep them to a minimum. Two to three is really all you need to create drama and intrigue on your front porch. Attach your flowers with floral tape and overlap them as best you can to hide the evidence.
Step Four
Guess what? You’re done! Take a look at your wreath and determine if it needs any extra flowers or greenery in other areas. Bald spots can really ruin the look of your wreath! After you’ve made sure that your wreath looks absolutely amazing, hang it on your front door. Use this tutorial for any holiday!
