When I first learned how to sew, one of the things I struggled the most with was deciding which stitch to use for my hand-sewing projects. For a while, I just used the same stitch for everything and that resulted in many ruined projects! I wish that I knew the difference between them all when I first started. A guide like this would have been incredibly handy! If you’re new to the art of sewing and the art of choosing the correct sewing stitch for your hand-sewn projects, never fear! Once you learn the difference between the different stitches, choosing one is almost too easy. Below, I’ve outlined the different sewing stitches and their uses for you.
Sewing Stitches 101: Which Stitch is Right For Your Project?
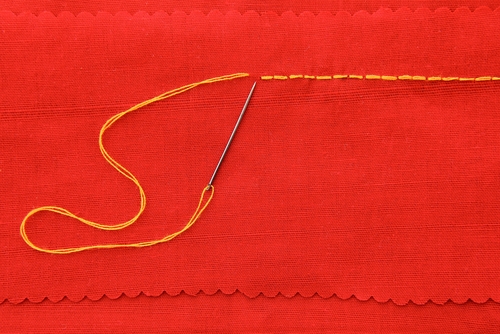
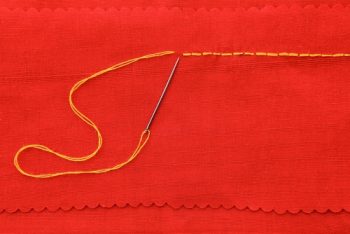
Running Stitch
The running stitch is the most simple of all the sewing stitches and it’s also the one that is most frequently used. You can use this stitch for sewing projects that require gathering, basting or tucking. You can create your own running stitch by starting from the backside of the fabric (taking care to knot the end of your thread first). Once the knot hits the fabric, you can continue with the exact same method when adding stitches to the left or right. Stitches should be super close together.
Basting Stitch
You will want to use a basting stitch if you are using light materials, like silk, or heavy ones, like leather. You will use the same method as you did with your running stitch, but take care to ensure that each stitch is between 1/4 and 1/2 inches long. This is a stitch that is less commonly used, but it’s still nice to know how to do it!

Backstitch
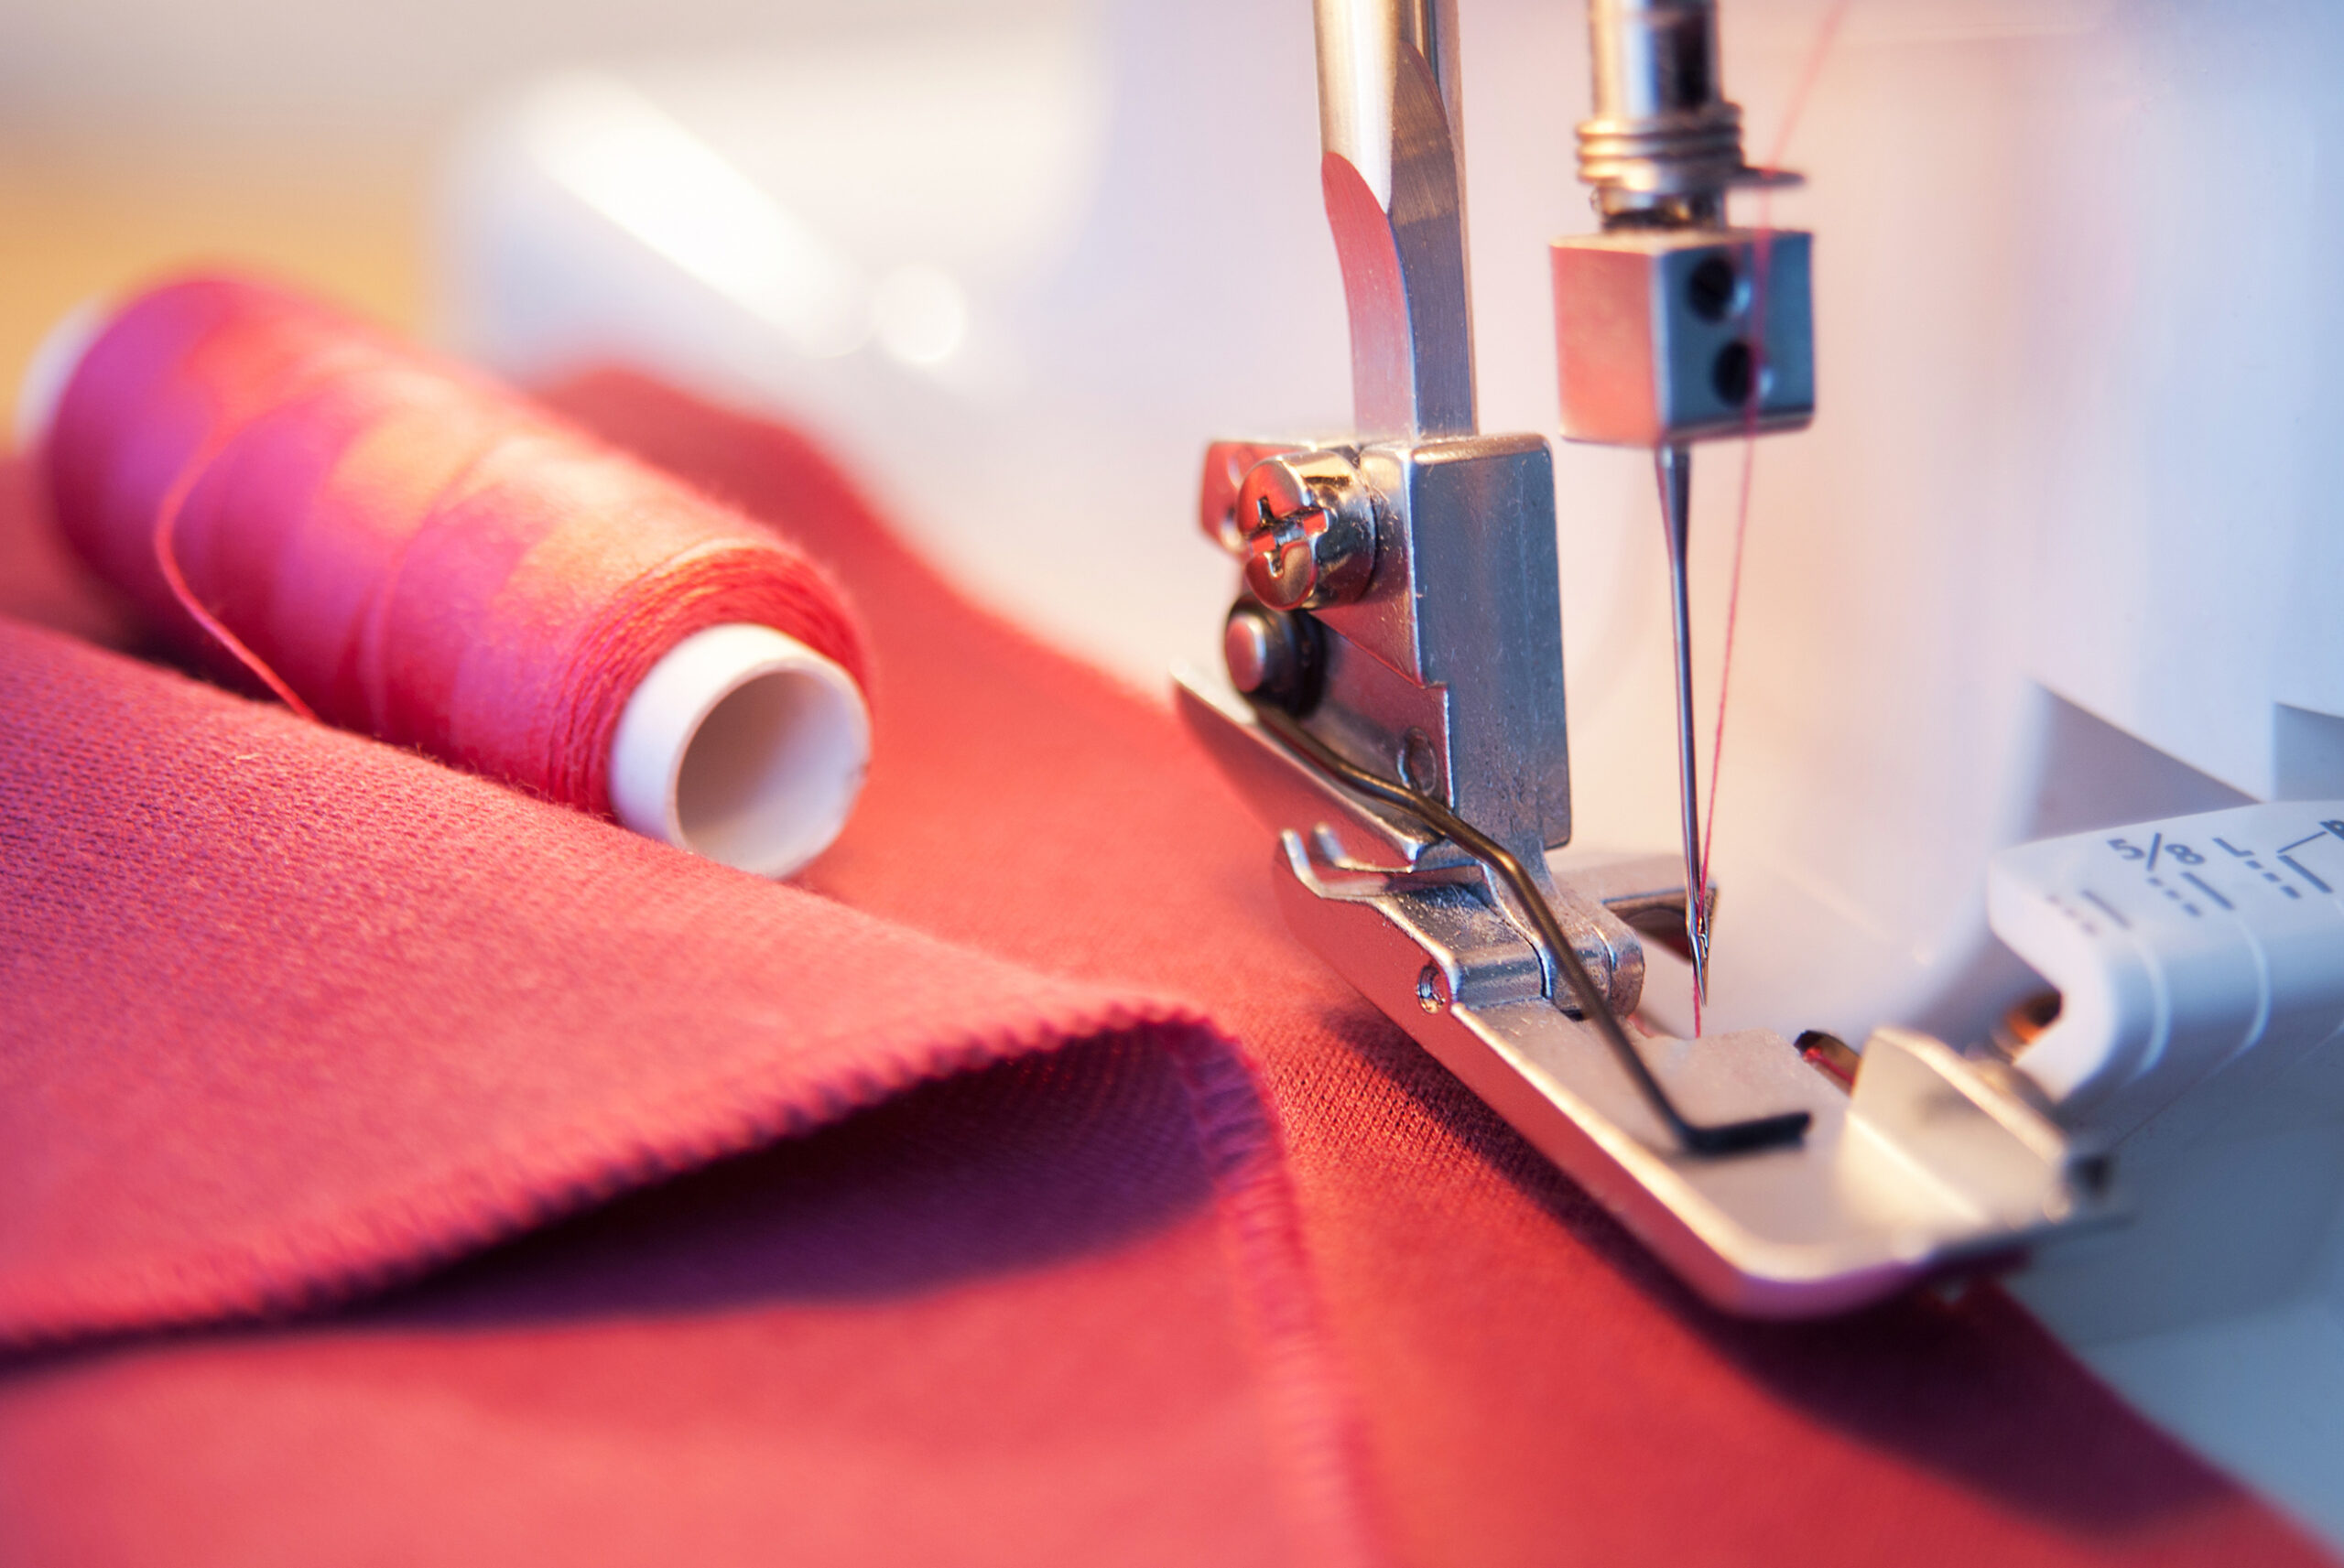
If you have a sewing machine, it will backstitch for you. However, it’s always nice to know how to backstitch, just in case the world ends or something. You will want to use a backstitch on every piece of clothing that you make for the best finish. To create a backstitch you will want to work from left to right, inserting the needle for the next stitch immediately after the previous one ended. Always make sure that you insert the needle on the end of the previous stitch.
Cross-Stitch
You’ll want to use this stitch to prevent the end of a hem from fraying. To create a cross stitch, you will literally create an X out of your thread on the backside of your fabric. When you flip the fabric right-side out, you won’t see the big ugly X marks, just a small row of even stitches that are practically invisible to the naked eye.
Slip Stitch
A slip stitch is another stitch that can be used to clean up hemlines and other edges that need a finishing touch! To create a slip stitch you’ll want to bring your sewing needle through the edge of your hem. You want to grab just a bit of fabric as you go, that’s what’s causing them to appear pointed. Slip stitches should be about a 1/2 inch apart and fairly loose…tight stitching cause the fabric to lay funny!
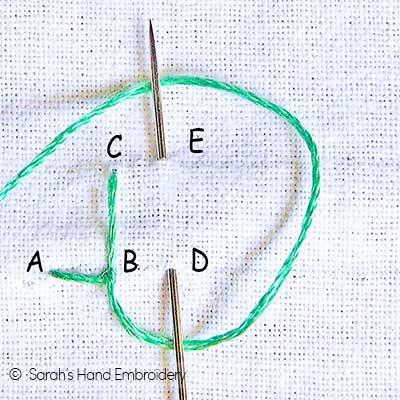
Buttonhole Stitch
Sewing buttonholes were always something that Laura Ingalls Wilder dreaded (seriously, read her books!). However, with this tutorial, you won’t have to! When sewing a buttonhole stitch, you will want to secure your thread with a knot on the wrong side of the of the fabric, pulling things through until about an eighth of an inch. Wrap the working end of the thread around the eye of the needle and then again, back beyond the point. See the photo below for a great visual!
I hope these sewing stitches help you on your next project. Comment below and tell me which one is your favorite!