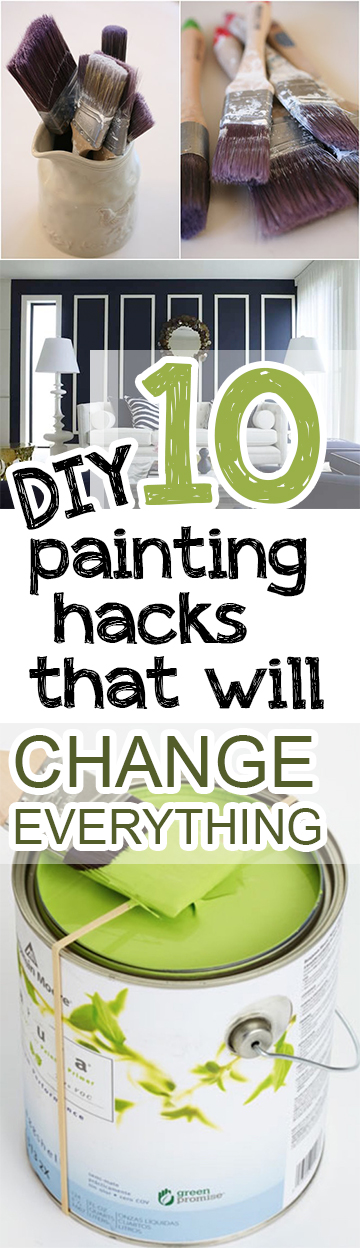
Whether you enjoy painting, or you dread the thought of dipping your brush into a gallon of paint, you’ve likely realized how big of a task it is! Instead of being completely overwhelmed (and having completely sore arms at the end of your project) use these 10 painting hacks to make your life a little bit easier.
Always Have Enough Paint
There is nothing worse than realizing you didn’t buy enough paint halfway through a project. Your paint won’t match, leaving your walls looking a little off. To prevent this issue, multiply the length times the width of the area. You need a gallon of paint for every 400 square feet.

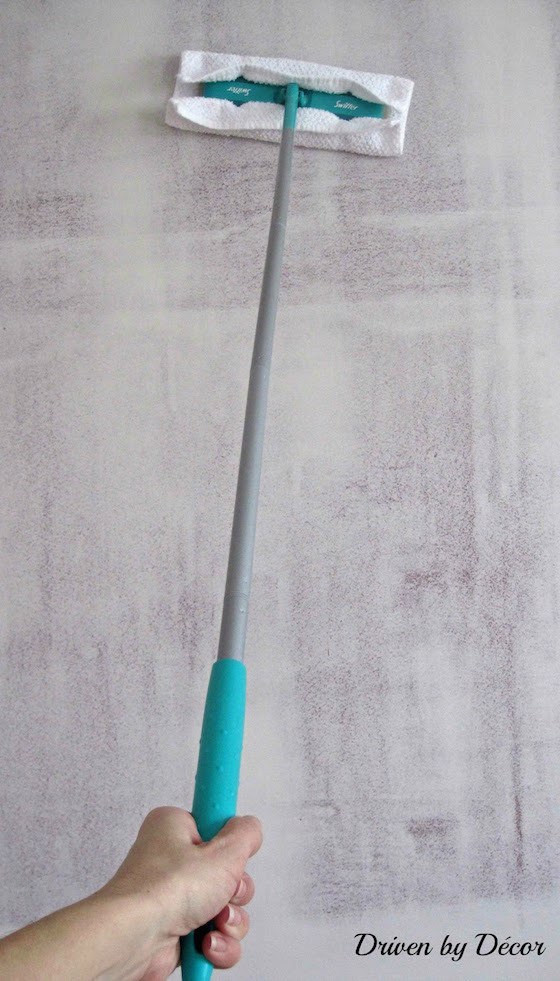
Always Prep the Surface
Prepping the surface before painting is seriously one of the most forgotten steps of paining. Instead of wiping walls down with a rag and soapy water, wipe them down using a Swiffer. That way, there isn’t any dirt stuck underneath the paint, and it goes on smoothly.
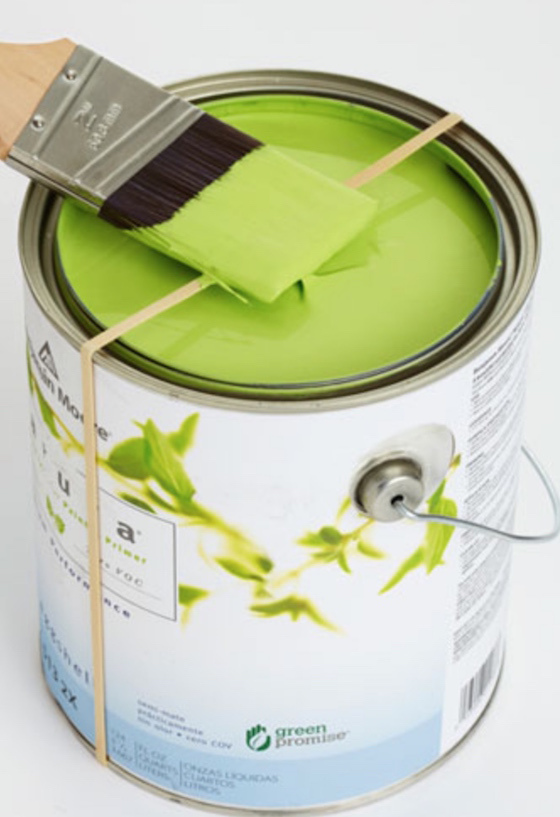
Be Mess Free
This is perfect for those quick touch up jobs when you don’t want to have to pour paint into a roller pan! Put a large rubber band around the paint can, and use it to wipe any excess mess off of your brush. This prevents paint buildup on the edge of the can (this can even prevent the lid from closing all of the way!)
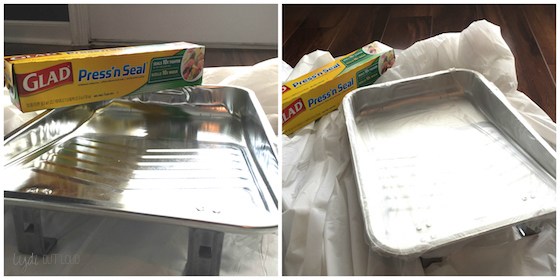
Quick Cleanup
You’ve spent the entire day painting, and the last thing you want to do is to spend time cleaning everything up! To prevent a messy cleanup, line your roller pan with cling wrap. All you have to do is dump the excess paint, and remove the plastic wrap. No rinsing (or scrubbing) necessary!
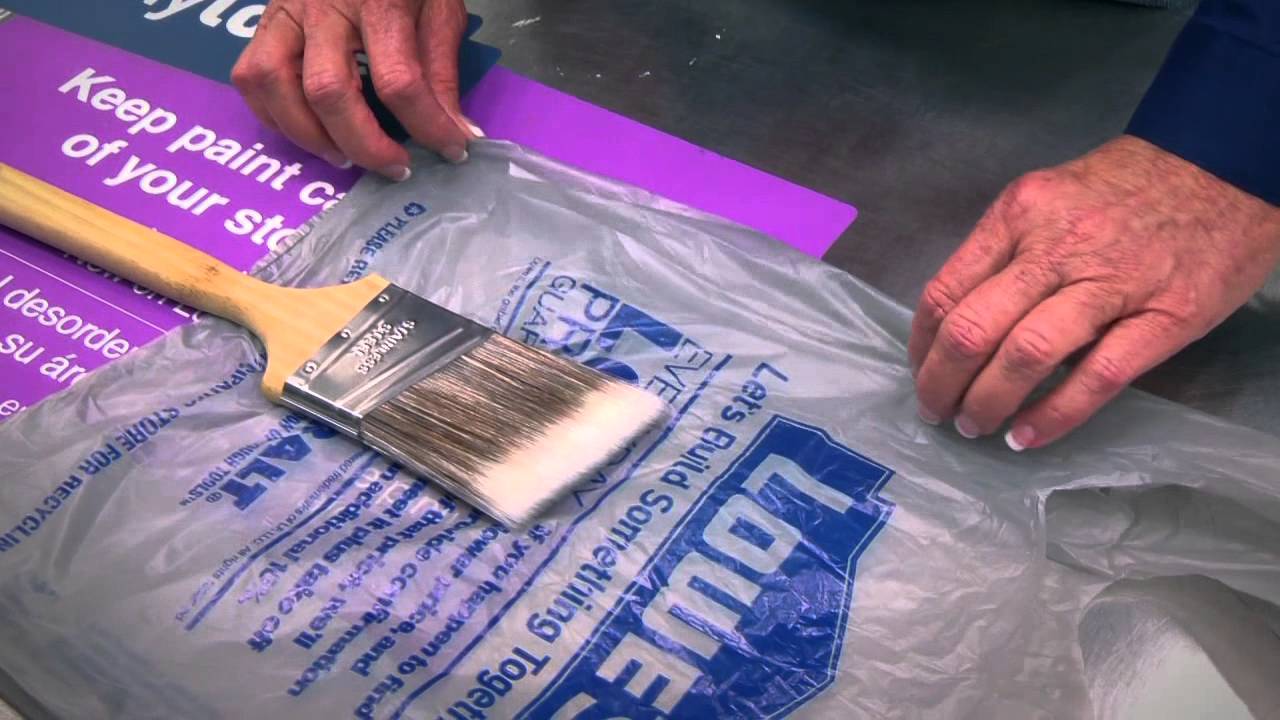
Take a Break
Your back, arms, and everything else is bound to get a little sore when painting. When taking a break, wrap your roller, brush, cover, and anything else tightly in old grocery bags (you could even use the cling wrap from the previous slide!)
Use Facial Wipes
If you dribble paint on your hardwood floor, or have paint anywhere it shouldn’t be, use facial wipes to clean it. The ingredients in them break down paint without warping the surface (from Family Handyman)

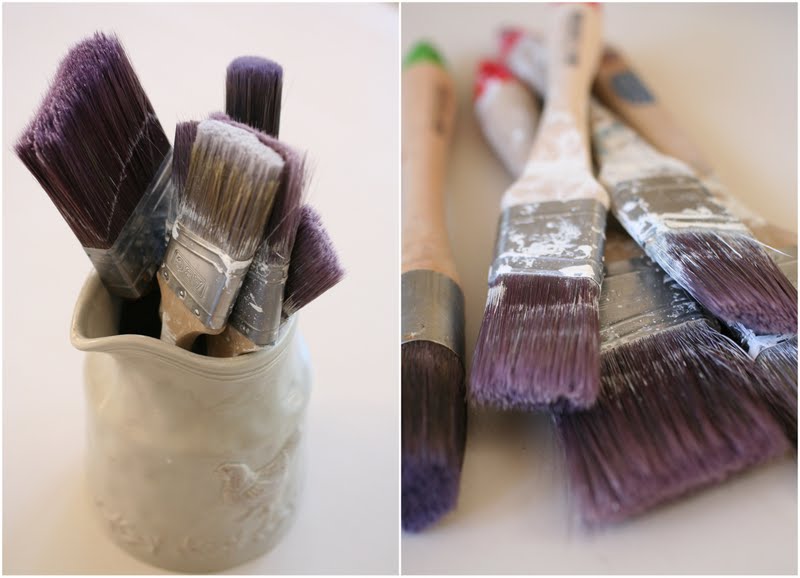
Vinegar to the Rescue
Instead of scrubbing out your paint brushes in water, soak them in hot vinegar for a few minutes. Vinegar is the greatest all-natural cleaner, and it will remove a lot of the paint. Rinse out after soaking.
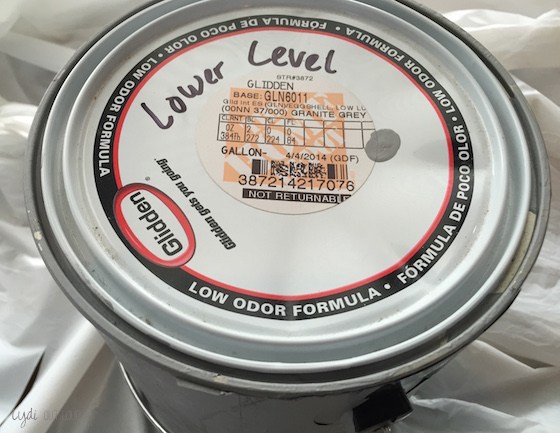
Mark Your Paint
Before putting it away, mark the top of your paint can with a dab of color, and write which room the paint was used in. That way you won’t have to open tons of paint cans to find the color you are looking for to do any touch ups.
Take Advantage of the Sample Jars
There is no way to really tell how a paint color is going to look on your wall. The best way to “dip your feet in” is to take advantage of the sample jars offered. You can easily compare shades, and see how each looks under the unique lighting of your home.


Storing wet paint brushes – If you have to stop painting and dont want to clean rollers and brushes only to use them the following day, put them in zip lock bags and store them in the refrigerator.
They won’t dry out and will be ready for use when you are. I have done this and it works great.