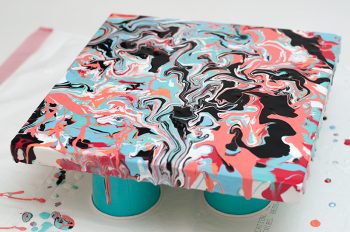

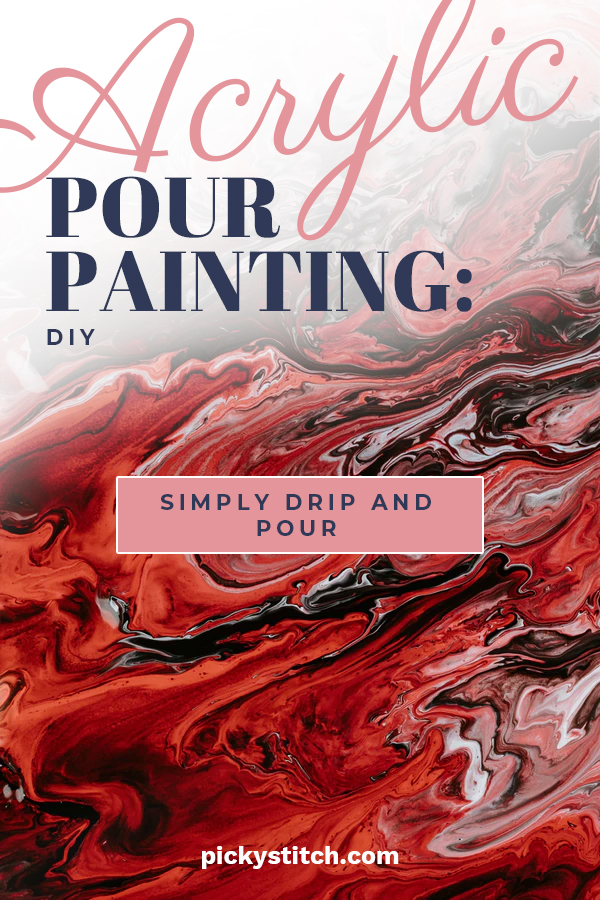
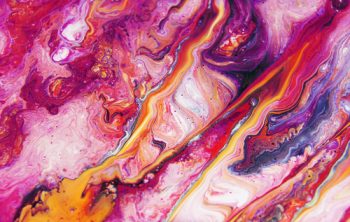
Acrylic paints are one of my very favorite crafting tools and supplies. There is so much you can transform with a simple coat or two of acrylic paint. The fast-drying capabilities of acrylic paint make any DIY project a breeze and these acrylic pour painting crafts are even easier than a traditional painting method. If you use this simple pour and paint method, you won’t even need a paintbrush to complete your project! If you are looking for a fun craft for kids (and adults!) of all ages, try this incredible painting method today! Follow my tips and tricks below to nail this method.
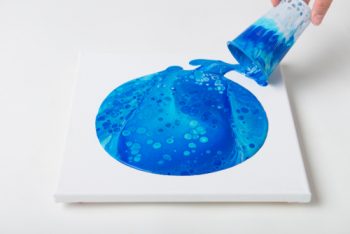
Enough Paint Is Key
The most common problem when pour painting is getting the amount of paint needed correctly. To make sure you have enough paint available for your project, one should use this formula: area of the canvas (in inches) divided by 25 is the amount of paint you need (in ounces) to cover your canvas. You might get a decimal for a number, but that’s alright, an estimation is just as great!
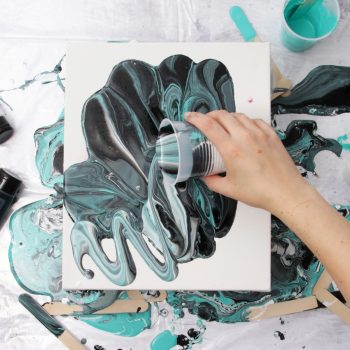
Pour Painting Is All About Ratio
When pour painting, you’ll have to find the perfect ratio of acrylic paint to paint medium. When pour painting, the amount of medium needed will depend on the viscosity of your paint. Mix 1 part of paint to every 2.5-3 parts of painting medium. Remember that if you don’t have enough medium, your paint will not flow in the way that it should. Use this pouring medium!
Prevent Lumps With This Tip
Unfortunately, some painting mediums are known for looking lumpy when dry. To prevent your finished piece of artwork from looking lumpy, stretch a piece of pantyhose over the opening of the medium container. The pantyhose will work to strain lumps so you are left with a perfect finish!
Level The Surface When Pour Painting
The key to a great pour painting project is simply making sure that your canvas stays perfect level when painting. Make sure your work table is perfectly level before you begin your project and if you move your piece to a different area to dry, make sure that area is level as well!
Prevent Messy Backsides
Keep the backsides of your canvas clean and drip free by using a few pieces of masking tape and a blank piece of paper. Tape the blank piece of paper to the back of the canvas and remove when the paint has dried.
How To Fix A Saggy Canvas
Make a saggy canvas tight again by spraying the back of it with a bit of water. Make sure that the canvas is evenly wet for the best results.
Preserve Your Paints With This Tip
If you have paint leftover from your pour project, you can hang on to it for future DIYs! To do so, simply store your acrylic paint in a completely airtight container.