In January of this year, I made it one of my New Years Resolutions to make my home less chaotic and more organized. I’ve tackled almost every room of my house, except for my office space. If you’re like me, you take your mail immediately to your office to open and pay any bills that aren’t on auto-pay. But, most of my mail isn’t bills, so I usually just end up with piles of unopened mail. Here are a few of my favorite ways to tackle that unwanted clutter.
Don’t have any giant clothes to hang on your gigantic clothing line? Use your gigantic clothespins to shape up your mail clutter! Make them your own with your favorite patterns of Washi tape, or even hand paint a few favorite flowers. You can purchase the clothespins here.
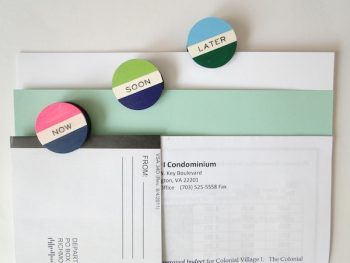
Keep track of your important mail with labeled magnets for your fridge. Alternatively, if you have a metal filing cabinet or desk in your office, you can stick your mail there! Project credit goes to Better Search Tools.
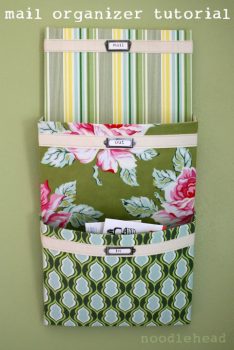
Save desk space while organizing your mail by category! With bright patterns and colors, you can make mail sorting an event that you actually look forward to! No? You still hate it? Well, it was worth a shot. Pop on over to Noodle Head to see how you can make this for yourself!
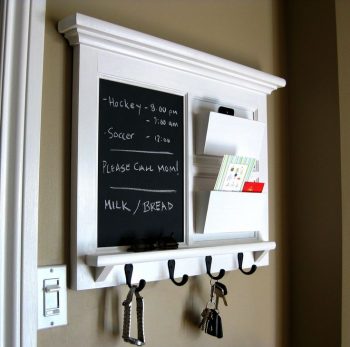
If you need a mail organizer that doubles as a command center, check out this storage product from Etsy. The chalkboard is a great place to write down family memos, or items from your grocery list. Plus, you’ll NEVER lose your keys again. Ever.
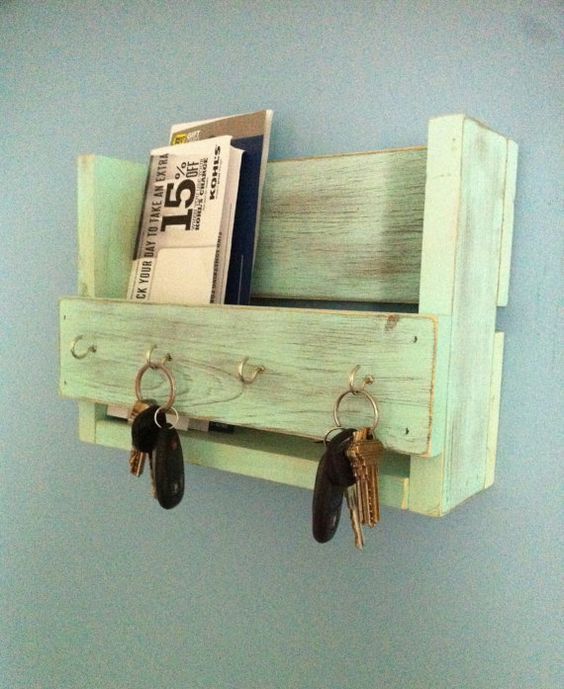
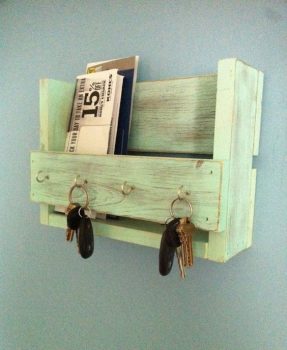
Like the previous idea, but are you looking for a smaller DIY? Use pieces of an old pallet (or even an old wooden crate!) to fashion this for the wall next to your garage door. Paint it whatever color you wish, but I happen to ADORE the worn mint finish of this one from Worth Trying DIY Projects.
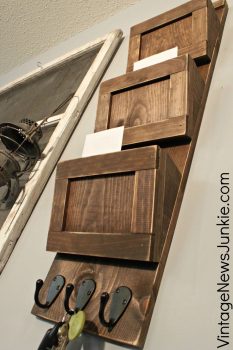
Rustic decor has a place in virtually every home! Keep your mail organized and your coats off the floor with a DIY project from Ana White. And while you’re there, take a look at her other DIY projects. She’s kind of a project genius!
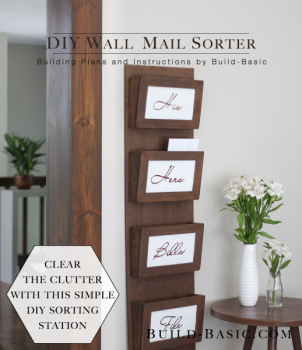
Categorize your mail by “hers,” “his,” and the kids! You’ll need $25 and about three hours to make this project, but the amount of free space this project will give you is truly priceless!

