

This year, I’ve decided to retire my family’s old Christmas stockings and update them with some easy-to-make handmade stockings, instead! Of course, I’ll keep the old stockings hidden away in a plastic bin…I am sentimental, after all! With 4 children and several “adopted kids” that live at my house, you could say that I have a pretty large family. I hand-knitted our set of old stockings, and I knew that I needed an easier DIY Christmas stocking project so I could make enough in time for Christmas. Keeping my time crunch (and my number of family members!) in mind, I began searching for the internet for super easy DIY Christmas stockings. And what do you know? I found a super easy DIY Christmas stocking pattern that is so easy even your husband could tackle it! I tried this tutorial and I created a stocking in under an hour. At that pace, I feel like I could have a new set for my family just in time for Christmas! Keep reading to see how I did it!

Easy DIY Christmas Stockings
You’ll need these supplies to create one of the easiest Christmas stocking DIYs around:
-1/2 yard of two SEPARATE fabrics (you can use whatever fabric you would like!)
-Fabric ribbon (for a hanger)
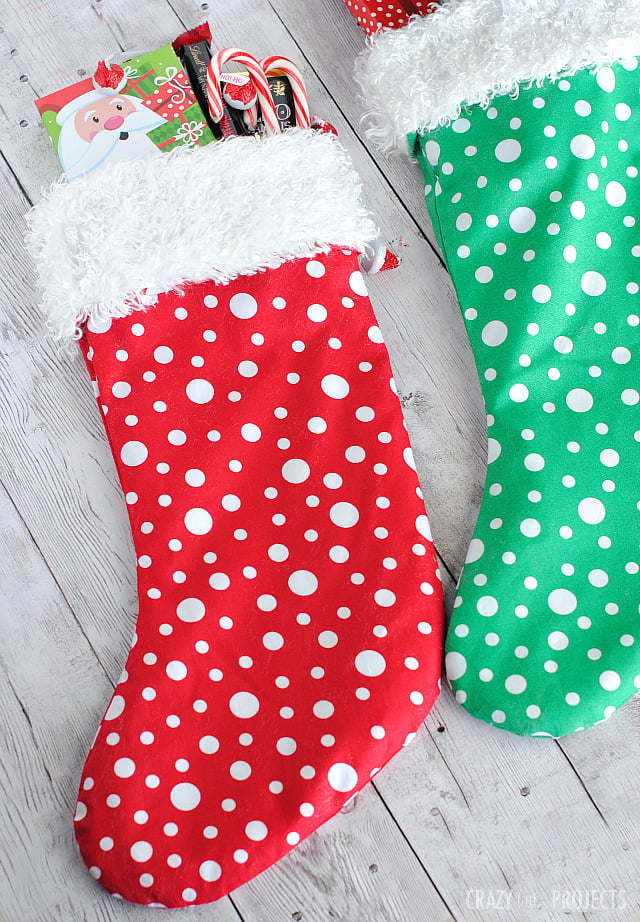
-This pattern (via Crazy Little Projects)
Image from Crazy Little Projects
Step One: To being, print and cut out the stocking pattern that I linked to above, it’s super important that you print out the pattern at 100%. No one wants a mini stocking, you can’t fit as many gifts in those. 😉 Once cut, tape the pieces of the pattern together.
Step Two: Next, fold your fabric in half and cut around your stocking pattern. After cutting, you should have two pieces that are mirror images of one another for a total of four pieces.
Step Three: Take two of your fabric pieces (the ones that you want to be shown on the outside of the stocking) and place them right sides together. Use scissors to clip little slits into the fabric, this will help prevent puckering as you sew.

Step Four: Now, gather the two pieces you would like to be the inside of your stocking and sew them as you did the outer pieces.
Step Five: Next, turn your inner stocking RIGHT side out and your outer stocking inside out. The right sides should be facing one another, inside the stocking. Now, pin around the top of the stocking.
Step Six: Leaving a 2-3 inch opening, sew around the top of your stocking, securing it shut.
Step Seven: Now, flip the stocking right side out. Smooth the fabric so it lays how you would like, and sew closed any other opening (other than the one in the top!).
Step Eight: Use an iron to press your fabric nicely before use. Now, all you have to do is fill your easy DIY stocking with gifts! Making your own DIY Christmas stockings is really that easy!