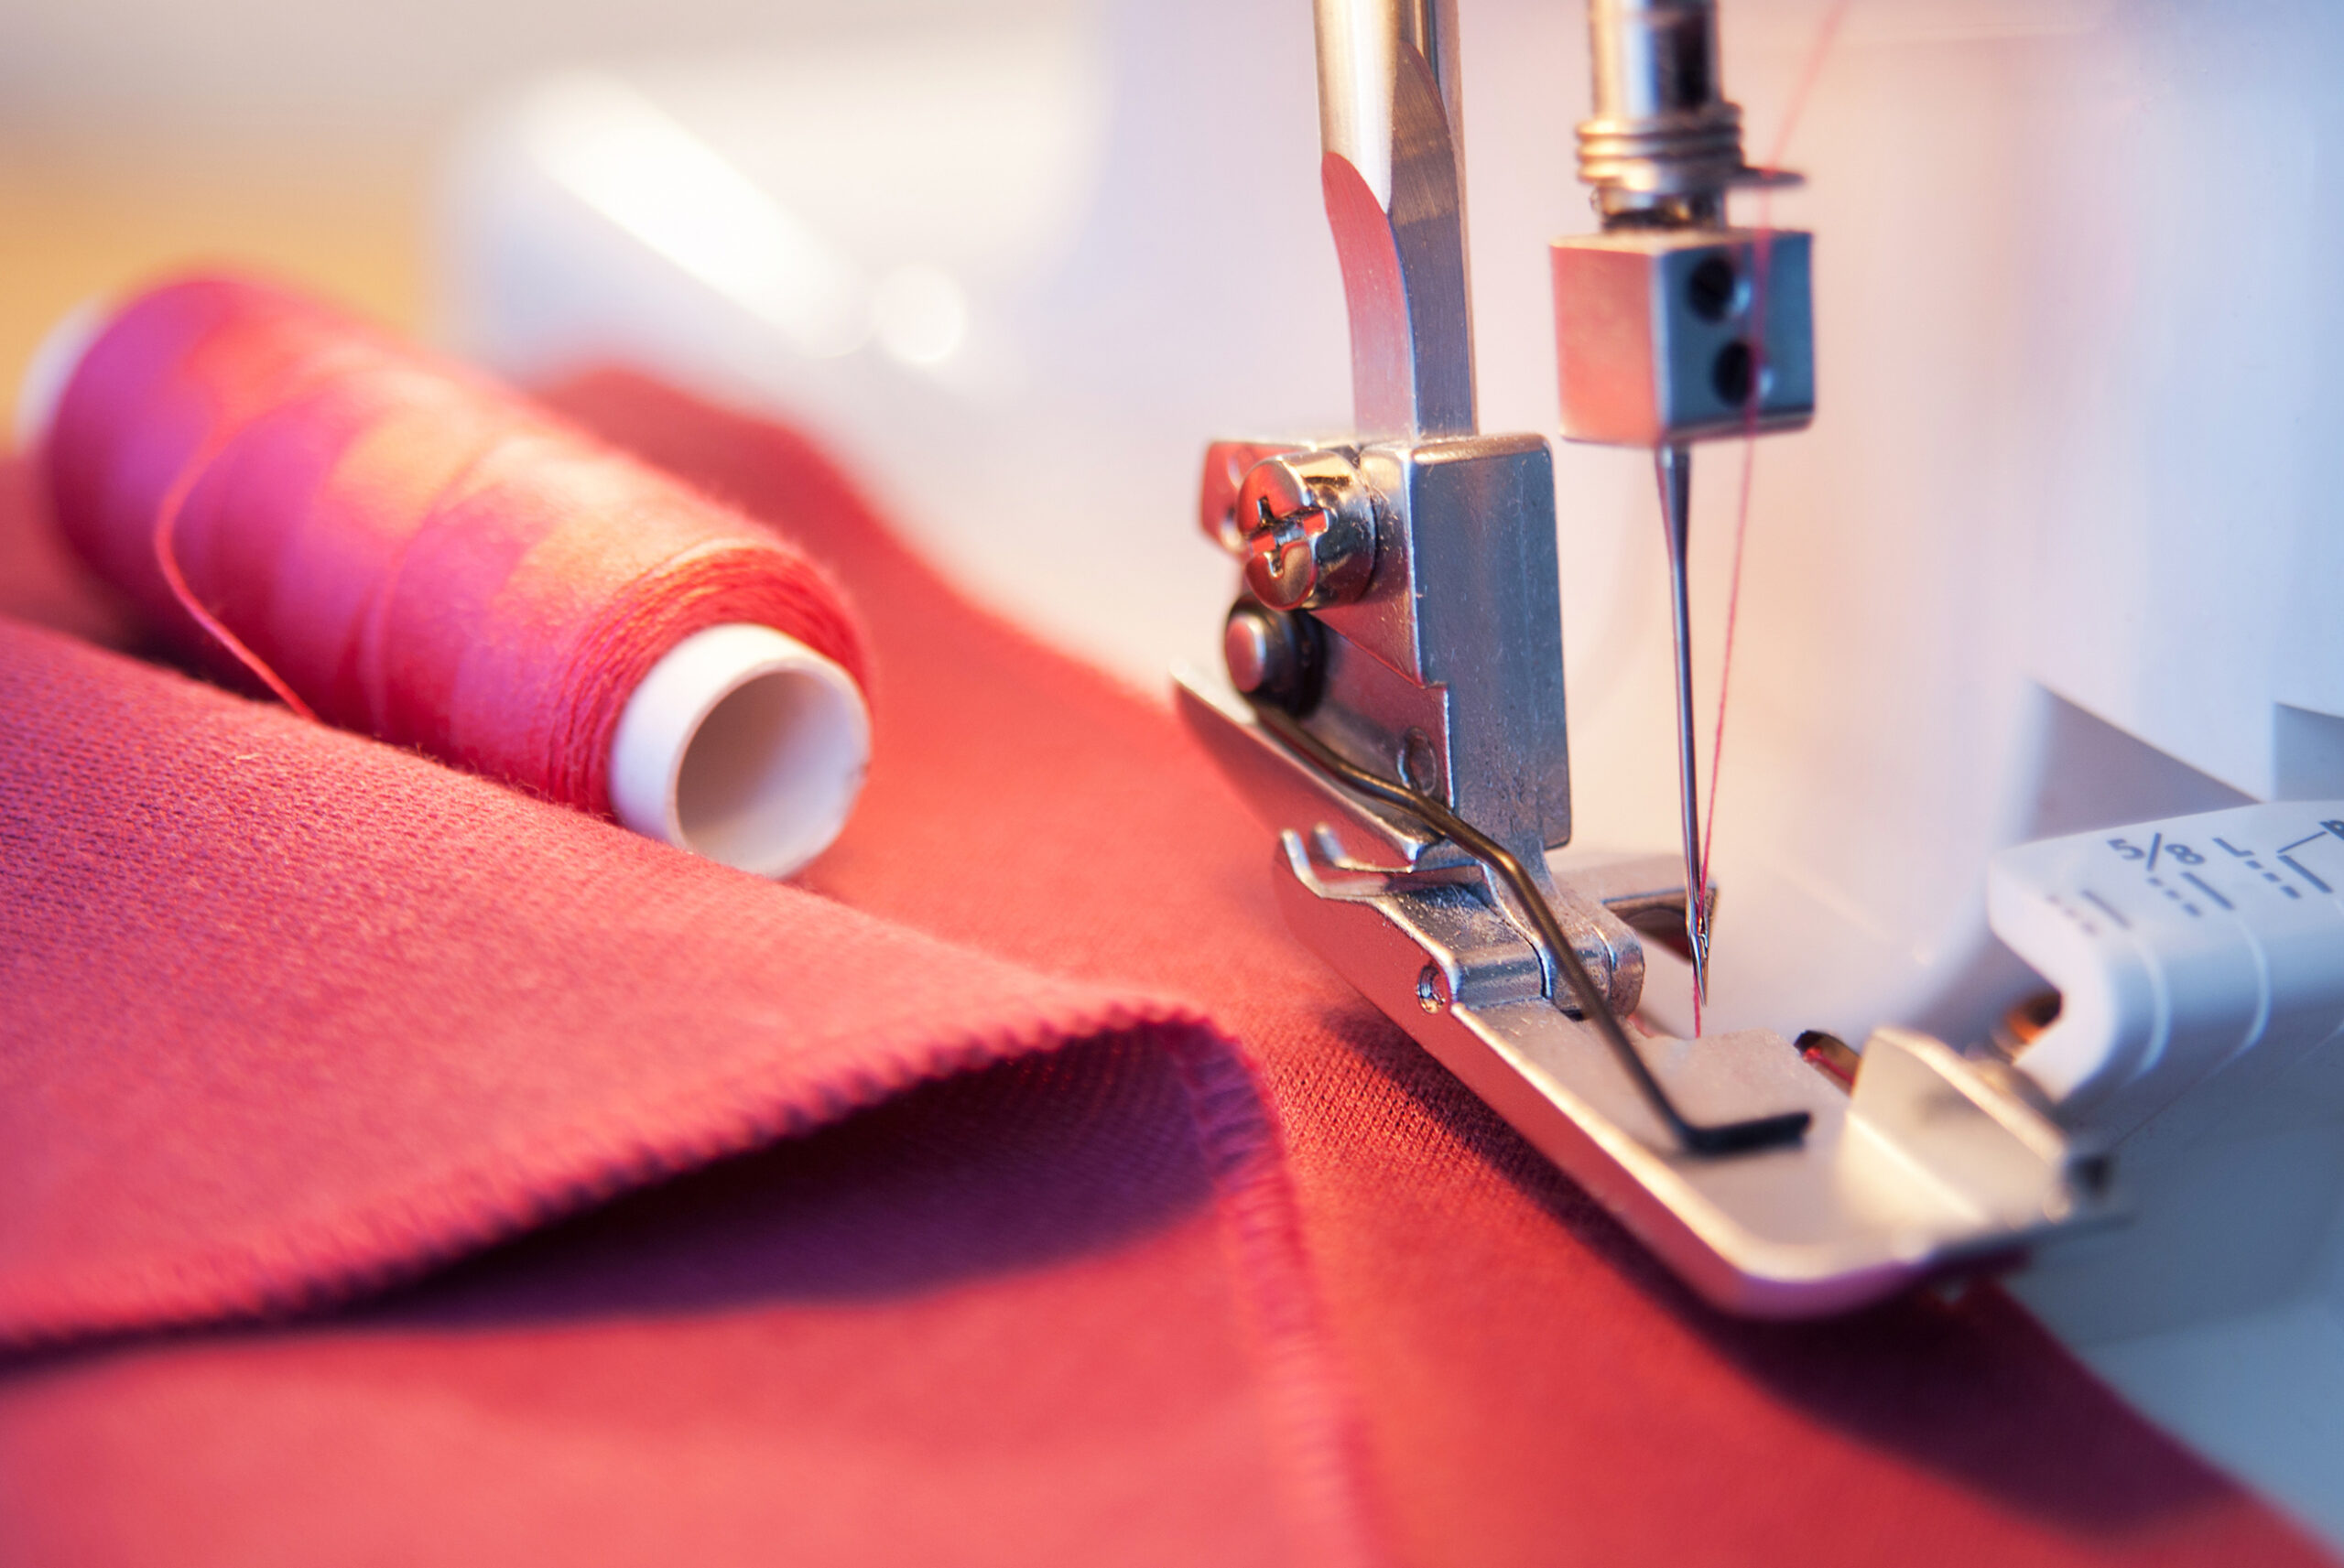

Any garment’s seams are vital for keeping the piece together. At the same time, the quality of the seam can also give away its maker’s skill level. Raw seams, such as raveled or frayed seams, may indicate that the garment’s maker created the garment at home. Raw seams can make your clothes feel uncomfortable. So, here’s a guide on finishing edges on raw sewing seams.
Guides on Finishing Edges on Different Types Seams
There is more than one way to finish a raw edge on a seam. Also, there are many types of seams. We’ll go over various methods and seam types to help you make your clothes look and feel better.
Serging/Overclocking a Seam
Overclocking or serging is a simple way to finish a raw seam. Moreover, this method works for finishing edges on all types of fabrics and seams. There are three ways you can approach this method:
- serge the seam before sewing
- serge the edge when creating the seam
- overclock or serge the edge after you sew the seam
Also, here’s an important tip.
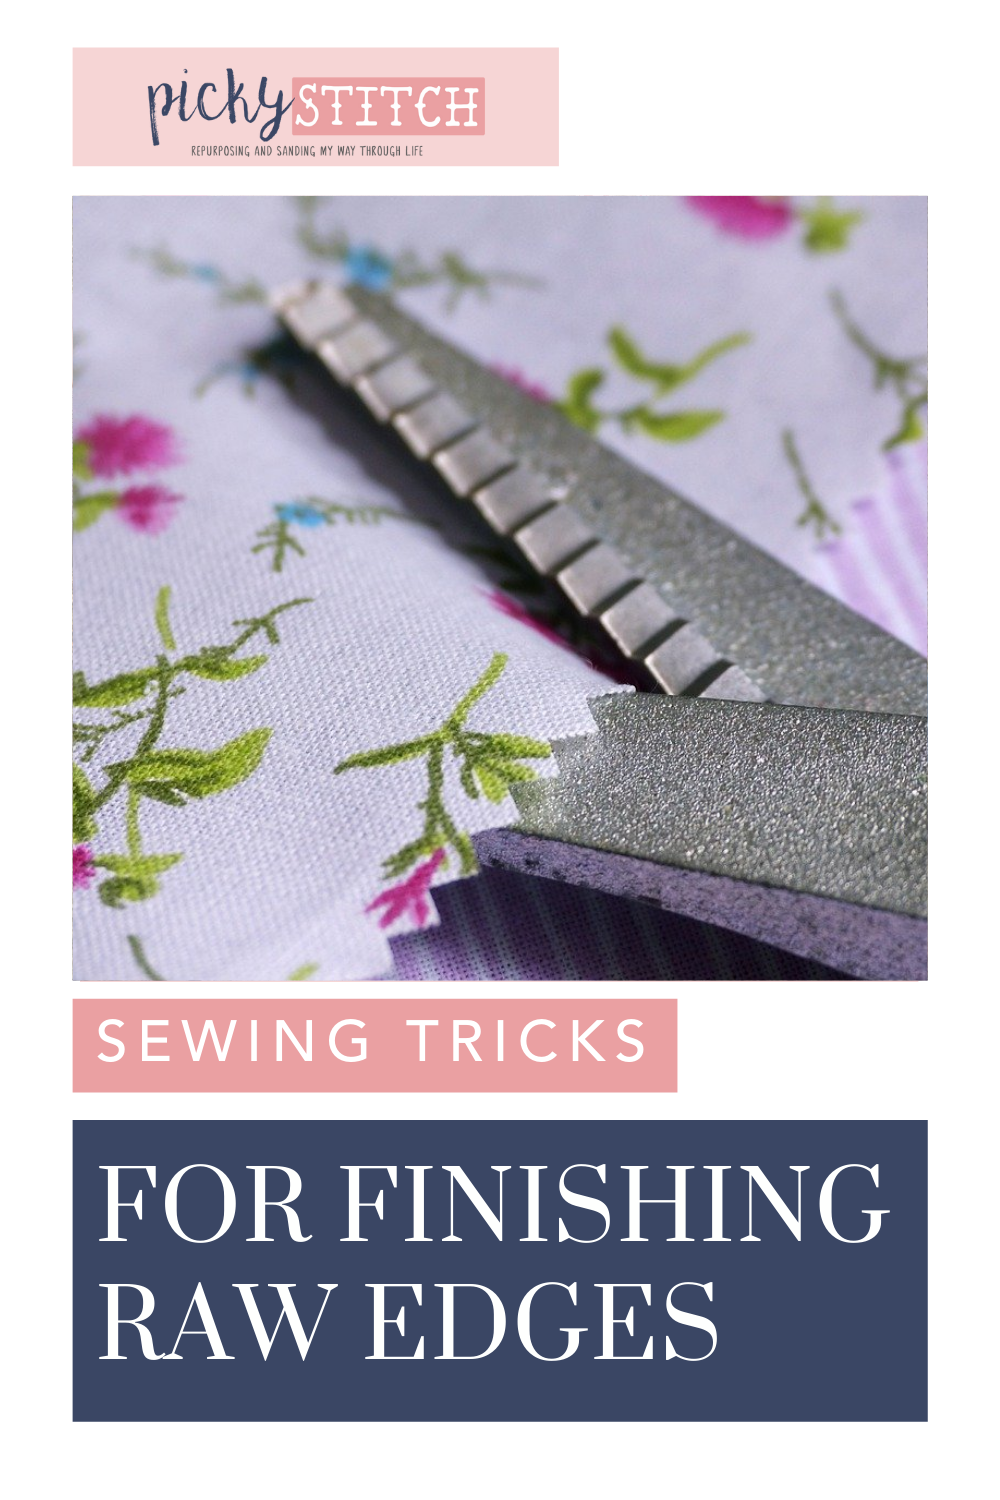
Pinking Shears Seam

You can consider pinking shears if you don’t have a serger. You’ll need a pinking shear because it will leave a zigzag edge instead of a straight one. This way, you can prevent your seams from fraying and raveling.
You could also use a wavy blade/rotary cutter for a similar result. That said, make sure to place a cutting mat under the fabric when you use a rotary cutter.
Zigzagging Seams
Zigzagging seams is a great method for finishing edges on linen, poplin, cotton, and other stable fabrics. Moreover, it provides clean finishing on closed seams. Here are the steps you must follow when zigzagging seams.
- Set your sewing machine to a setting of medium stitch length and width. Perform a test stitch to check if the setting is right.
- Place the seam allowance under the presser foot. So, it should ensure that the zigzag’s right-hand part sews approximately one-eighth of an inch (3 mm) away from the seam allowance’s edge. Thus, sew along the seam’s length.
- Trim the seam allowance to zigzag stitching’s line.
- Press the seam to the back when finishing edges on a garment.
Overcasting Seams
Overcasting the seam makes the end result look like an intricate zigzag design. So, it is also known as a mock overlock seam because of the similarity in the finish’s appearance. If you’re using a modern sewing machine, it most likely will have one type of overcast stitch option. Therefore, you can use the overcast finishing method on most types of fabrics. What’s more, you can use it on jersey fabric.
You should follow the same finishing steps that are discussed for zigzagging seams. You’ll achieve the cleanest finish by sewing the overcast stitch along the full seam. Trim the excess fabric after that and make sure it’s close to the stitching. That said, the overcast foot ensures that this process is quicker and simpler.
Frenching Seams
The Frenching seams method is one of the best for finishing edges on lightweight fabrics. Thus, this method involves enclosing the raw edges by sewing the seam twice. So, it won’t work well with thick and heavy fabrics. This is because it will the folds will be too bulky, ruining the look of the garment.
Here are the necessary steps to use the Frenching seams method for finishing raw edges.
- Place the fabric in a way that the wrong sides are together.
- Sew a seam of three-eighths of an inch (1cm).
- Trim back both the seam allowance’s sides to a quarter-inch (6mm).
- Set the stitches by pressing the seam as it’s sewn.
- Get the right sides together by folding the fabric, which will enclose the seam allowance’s raw edges.
- Crease on the entire seam line, and press it (add a pin to keep it in place when finishing edges, if necessary). Also, proceed with caution when you use pins on sheer or thin fabric. Dull pins may snag the fibers and cause what is known as runs.
- Sew another seam under a quarter-inch (6mm) wide, ensuring the seam allowance is encased under the seam. After that, press the seam allowance to the side.
Turning Under and Stitching the Seam
Turning under and stitching is an effective method for finishing edges on a seam medium-weight and lightweight fabrics. That said, this method can be more time-consuming than some of the other methods above.
Follow these steps to finish it properly.
- Stitch the seam with the raw edges and press the seam open.
- Press under one side of the seam allowance’s raw edge by one-eighth of an inch (3mm). That said, you don’t have to get the measurement perfect. This way, you’ll allow the raw edge to line up with the inside of the seam. Also, make sure the seam allowance is over a pressing cloth. As a result, you can prevent the seam from marking through to garment’s right side.
- Edgestitch the fold of the seam so that it doesn’t move.
- Repeat the steps above for the second side of the seam allowance. After that, the process should be complete.
Last Few Words
While all of the methods above are great for finishing edges, pick one that’s best-suited for your garment and skill level.