• Skip to primary navigation
  • Skip to main content
  • Skip to primary sidebar
Picky Stitch

Picky Stitch

Picky Stitch shares fun and easy sewing projects for all levels including DIY crafts for holidays. Tips, tutorials, reviews, humor and learn to embrace your creative side.

  • Home
  • Crafts
  • Decor
  • Tutorials
  • Organize
  • Family
  • Privacy Policy

Shaving Cream Easter Eggs (How To Dye Them)

February 8, 2018 by Picky Stitch Leave a Comment


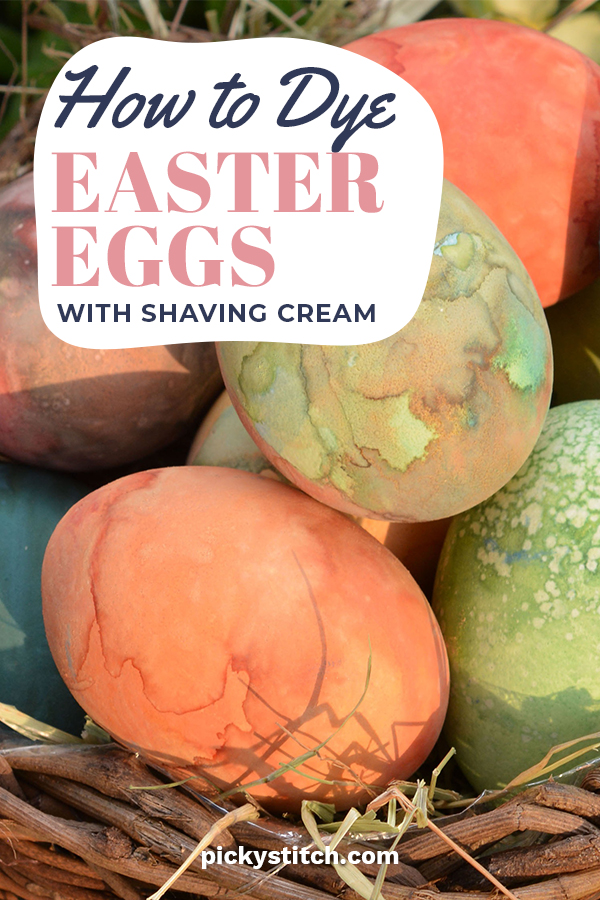
Shaving cream Easter eggs are the latest in designer looks. Easter is early this year, and my kids are already dreaming up their own Easter egg designs. For years, we’ve used a homemade dye recipe, but I think we are going to change things up with a little method I learned in my childhood. This year, we’re dying our eggs with shaving cream!  Seriously! It’s a little secret I learned from my grandmother as a kid, and I remember being positively fascinated with the end result every time. Check out the tutorial below to make your own, you probably already have everything that you need at home.

A carton full of shaving cream Easter eggs. The eggs have a multi-colored look.

Shopping list:

– Shaving cream (shave gel won’t work…it has to be cream to dye the eggs)

-food coloring

-baking pan, dish, or bowl

Contents
1 Step One
2 Step Two
3 Step Three
4 Step Four
5 Check out these other “hippity happity” Easter ideas:
6 How to Dye Easter Eggs With All Natural Dyes
7 16 Easy Easter Treats
Step One

To begin, spray a layer of shaving cream out on your baking pan, dish, or bowl. Once sprayed, drop in a few drops of food coloring in to die the cream your desired shade. Use a toothpick to drag the drops of color through the cream. It should look a little like a spider web!

An egg after being dipped in shaving cream Easter egg dye. Shaving cream Easter eggs are a beautiful mix of colors. Each one is unique.


Step Two

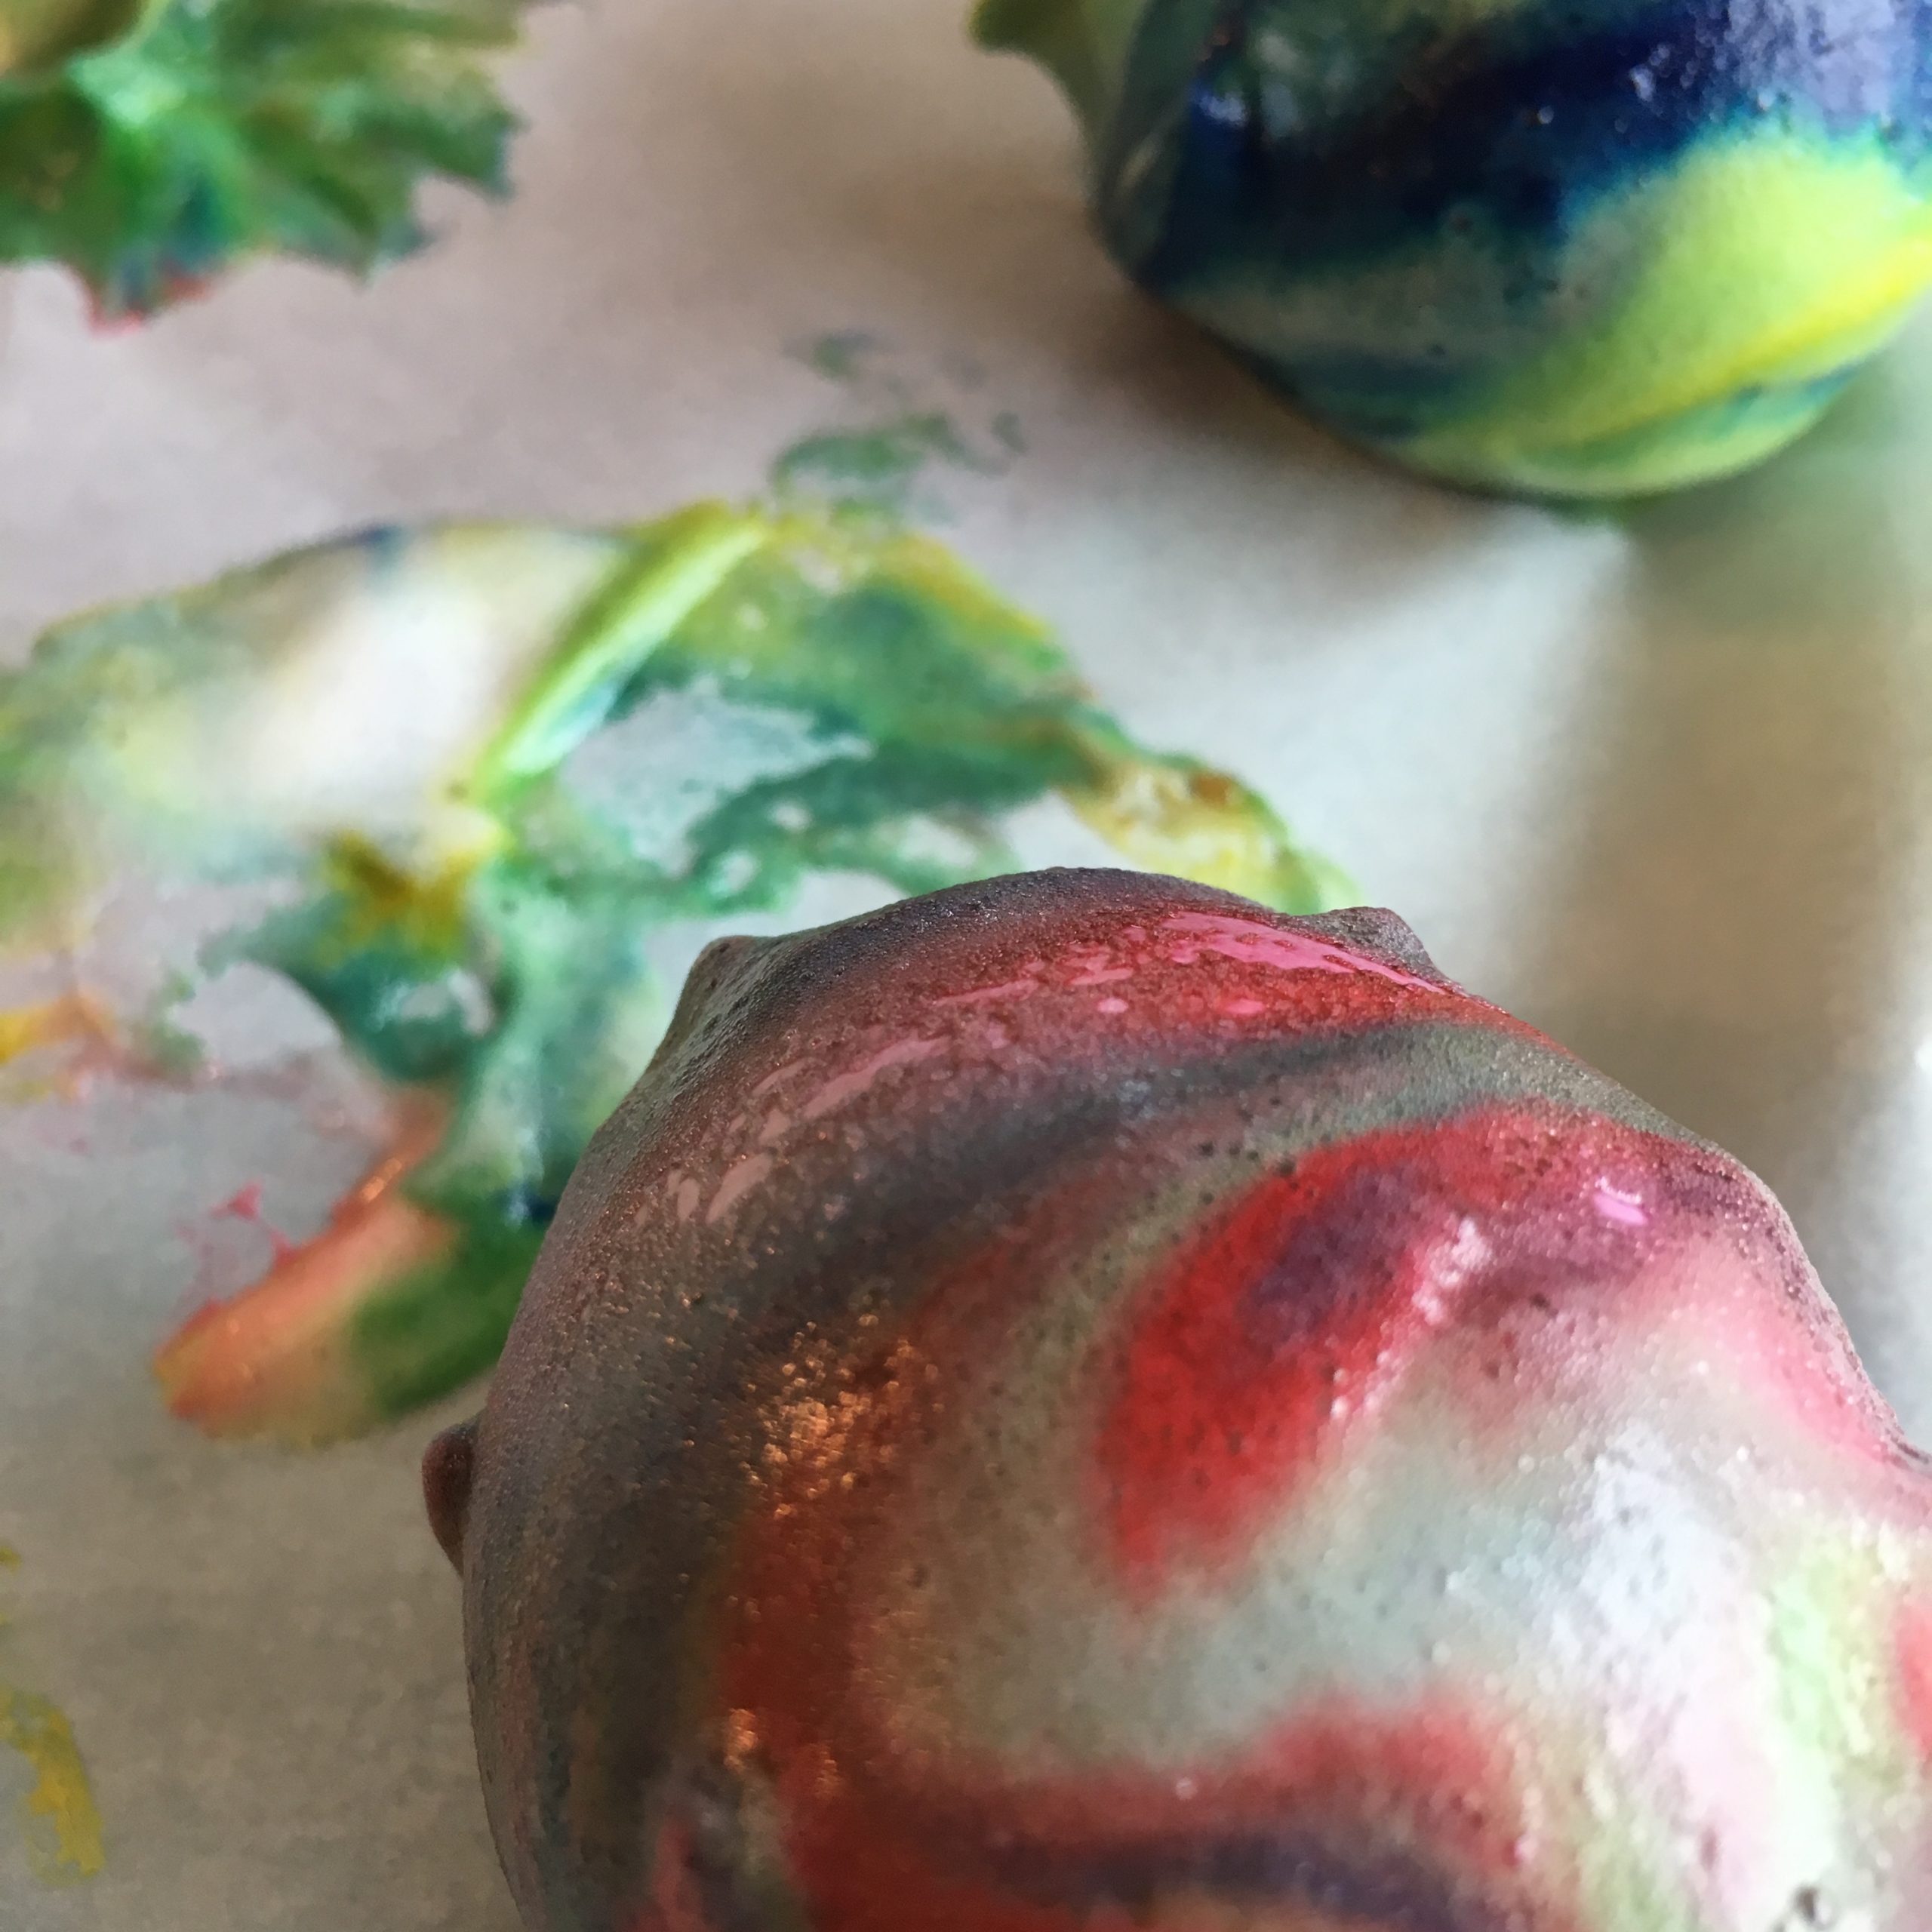
When you have created your spiderweb magic, gently roll all of your hard-boiled eggs through the shaving cream. It’s important that you roll evenly, so you don’t get too much coloring in one area! Place on an empty sheet of cardboard (don’t stick them back in the egg carton, or they won’t turn out) and wait for the cream to dry.

Step Three


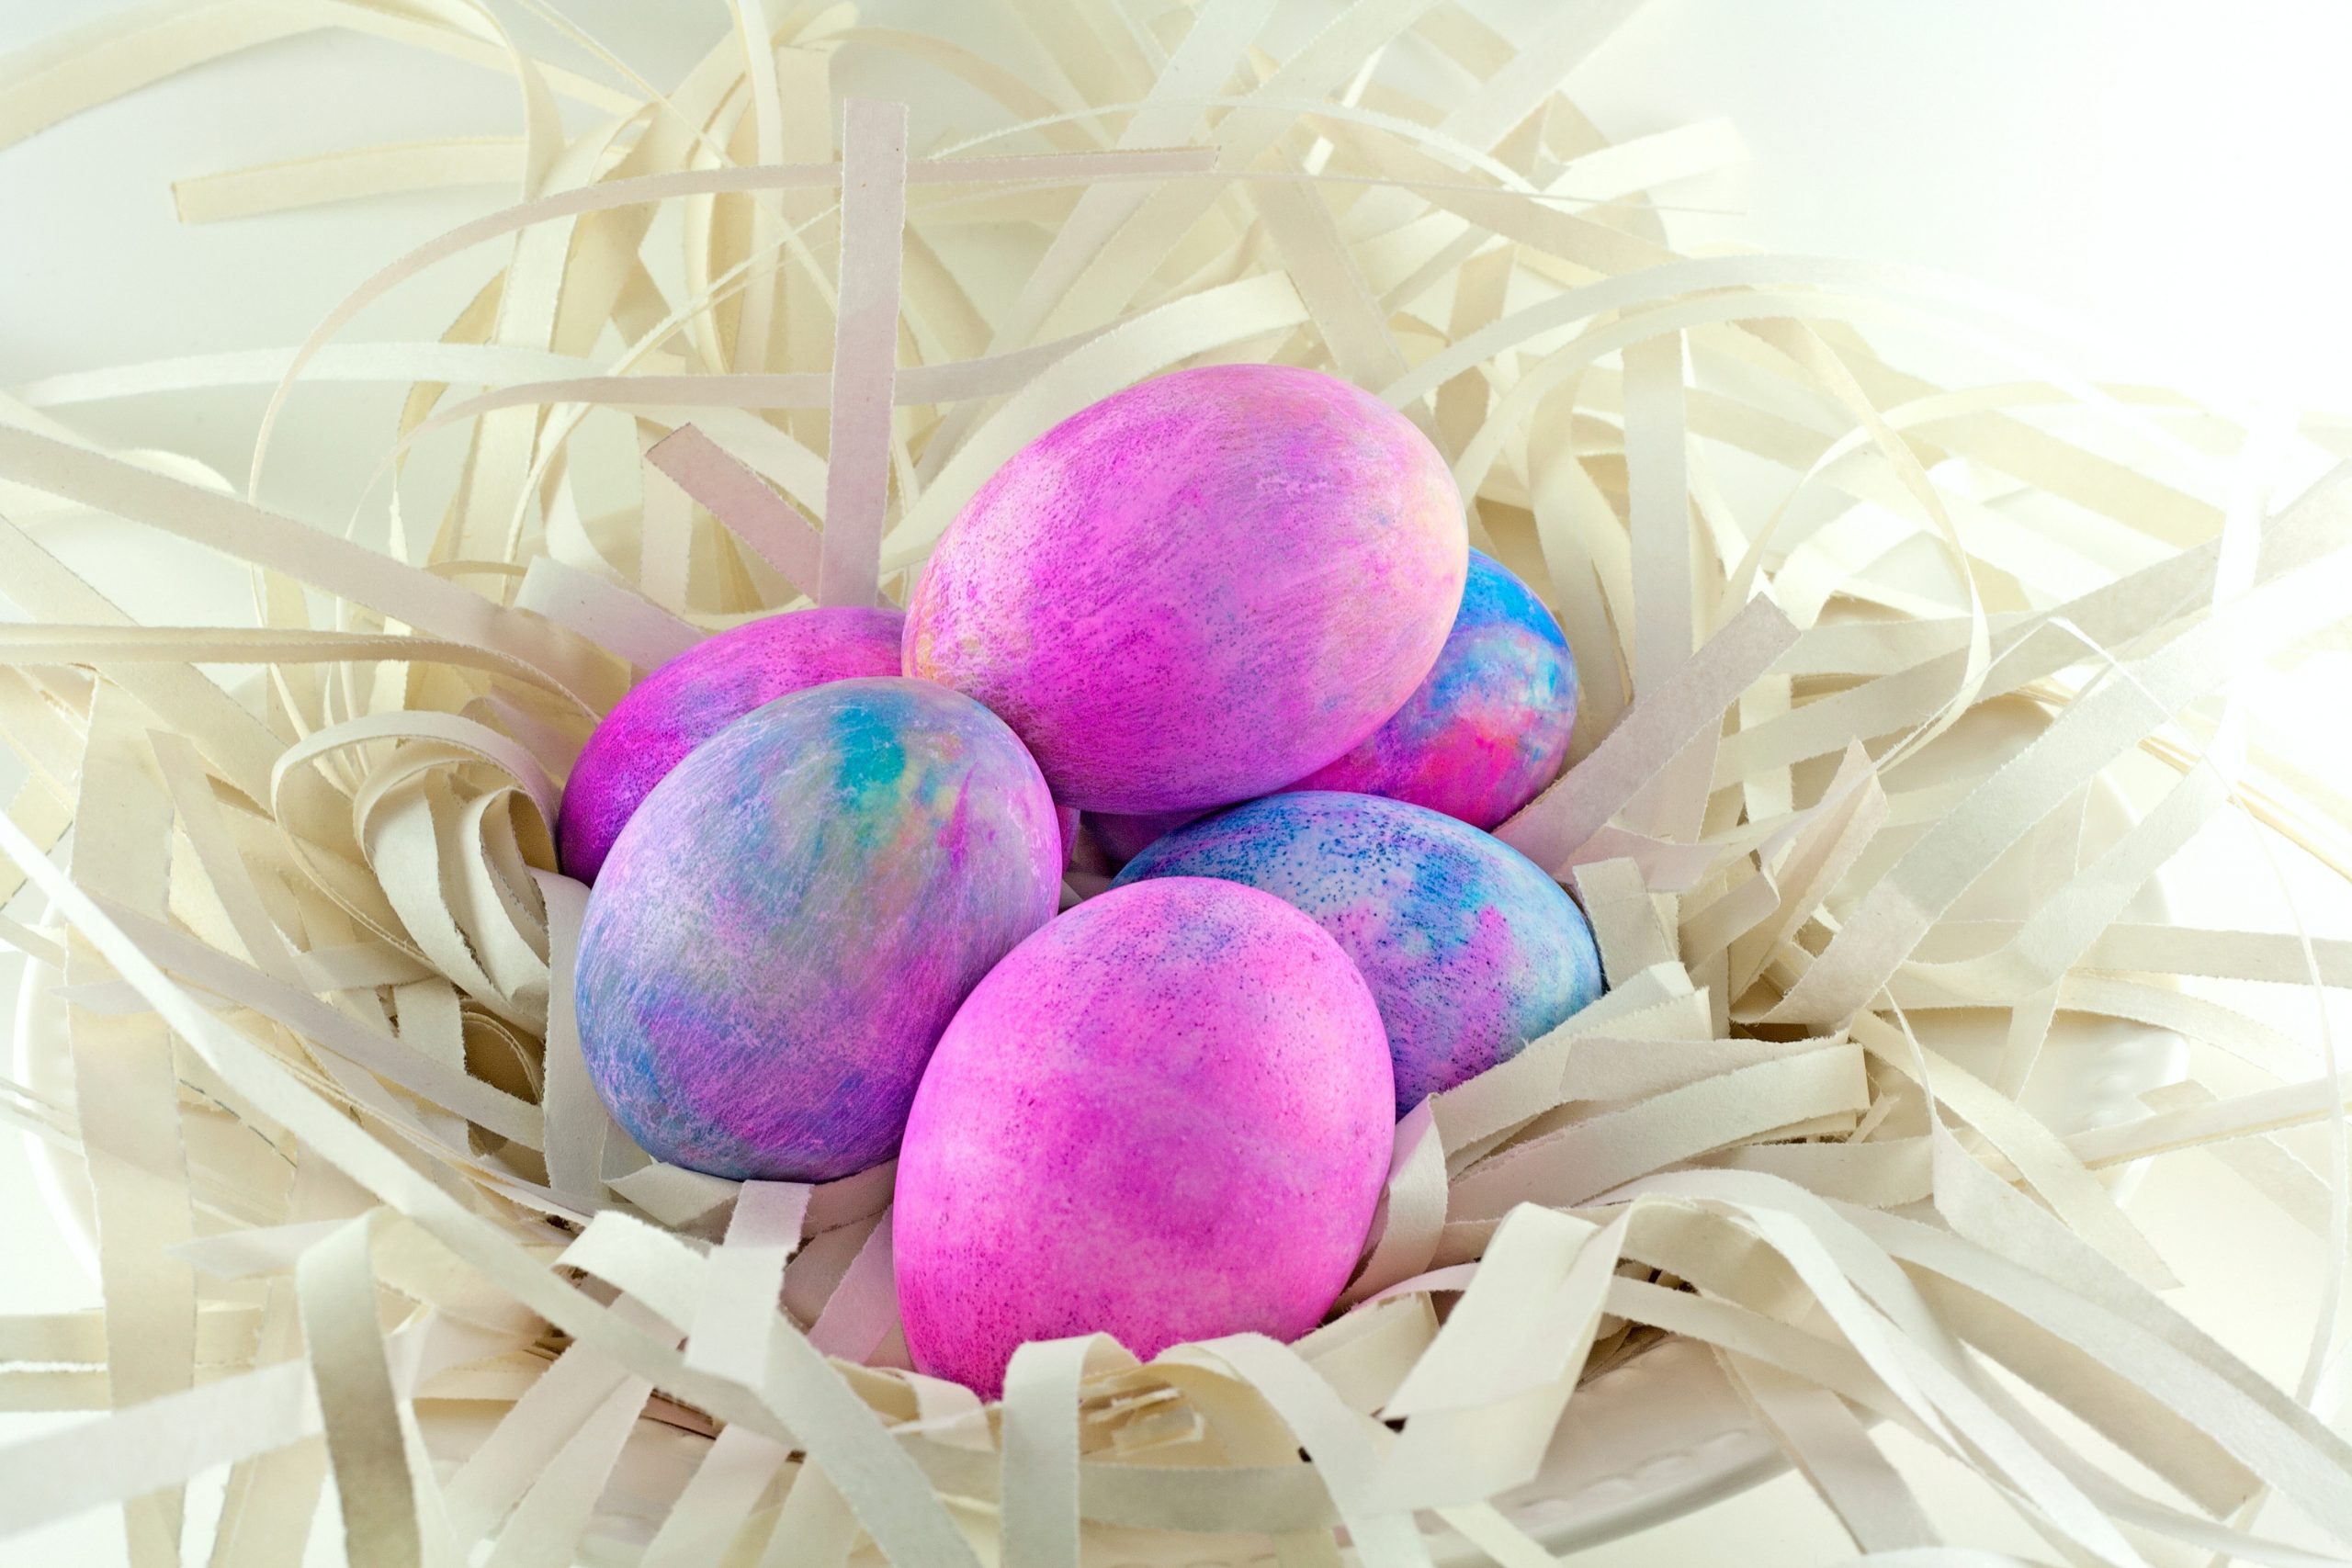
The drying process should take about 10 minutes, and you’ll know it’s ready when the shaving cream “dries” up. Once dried, use a paper towel to wipe off the shaving cream remnants. The food coloring will stick, leaving you with a really cool marbled Easter egg!

Step Four

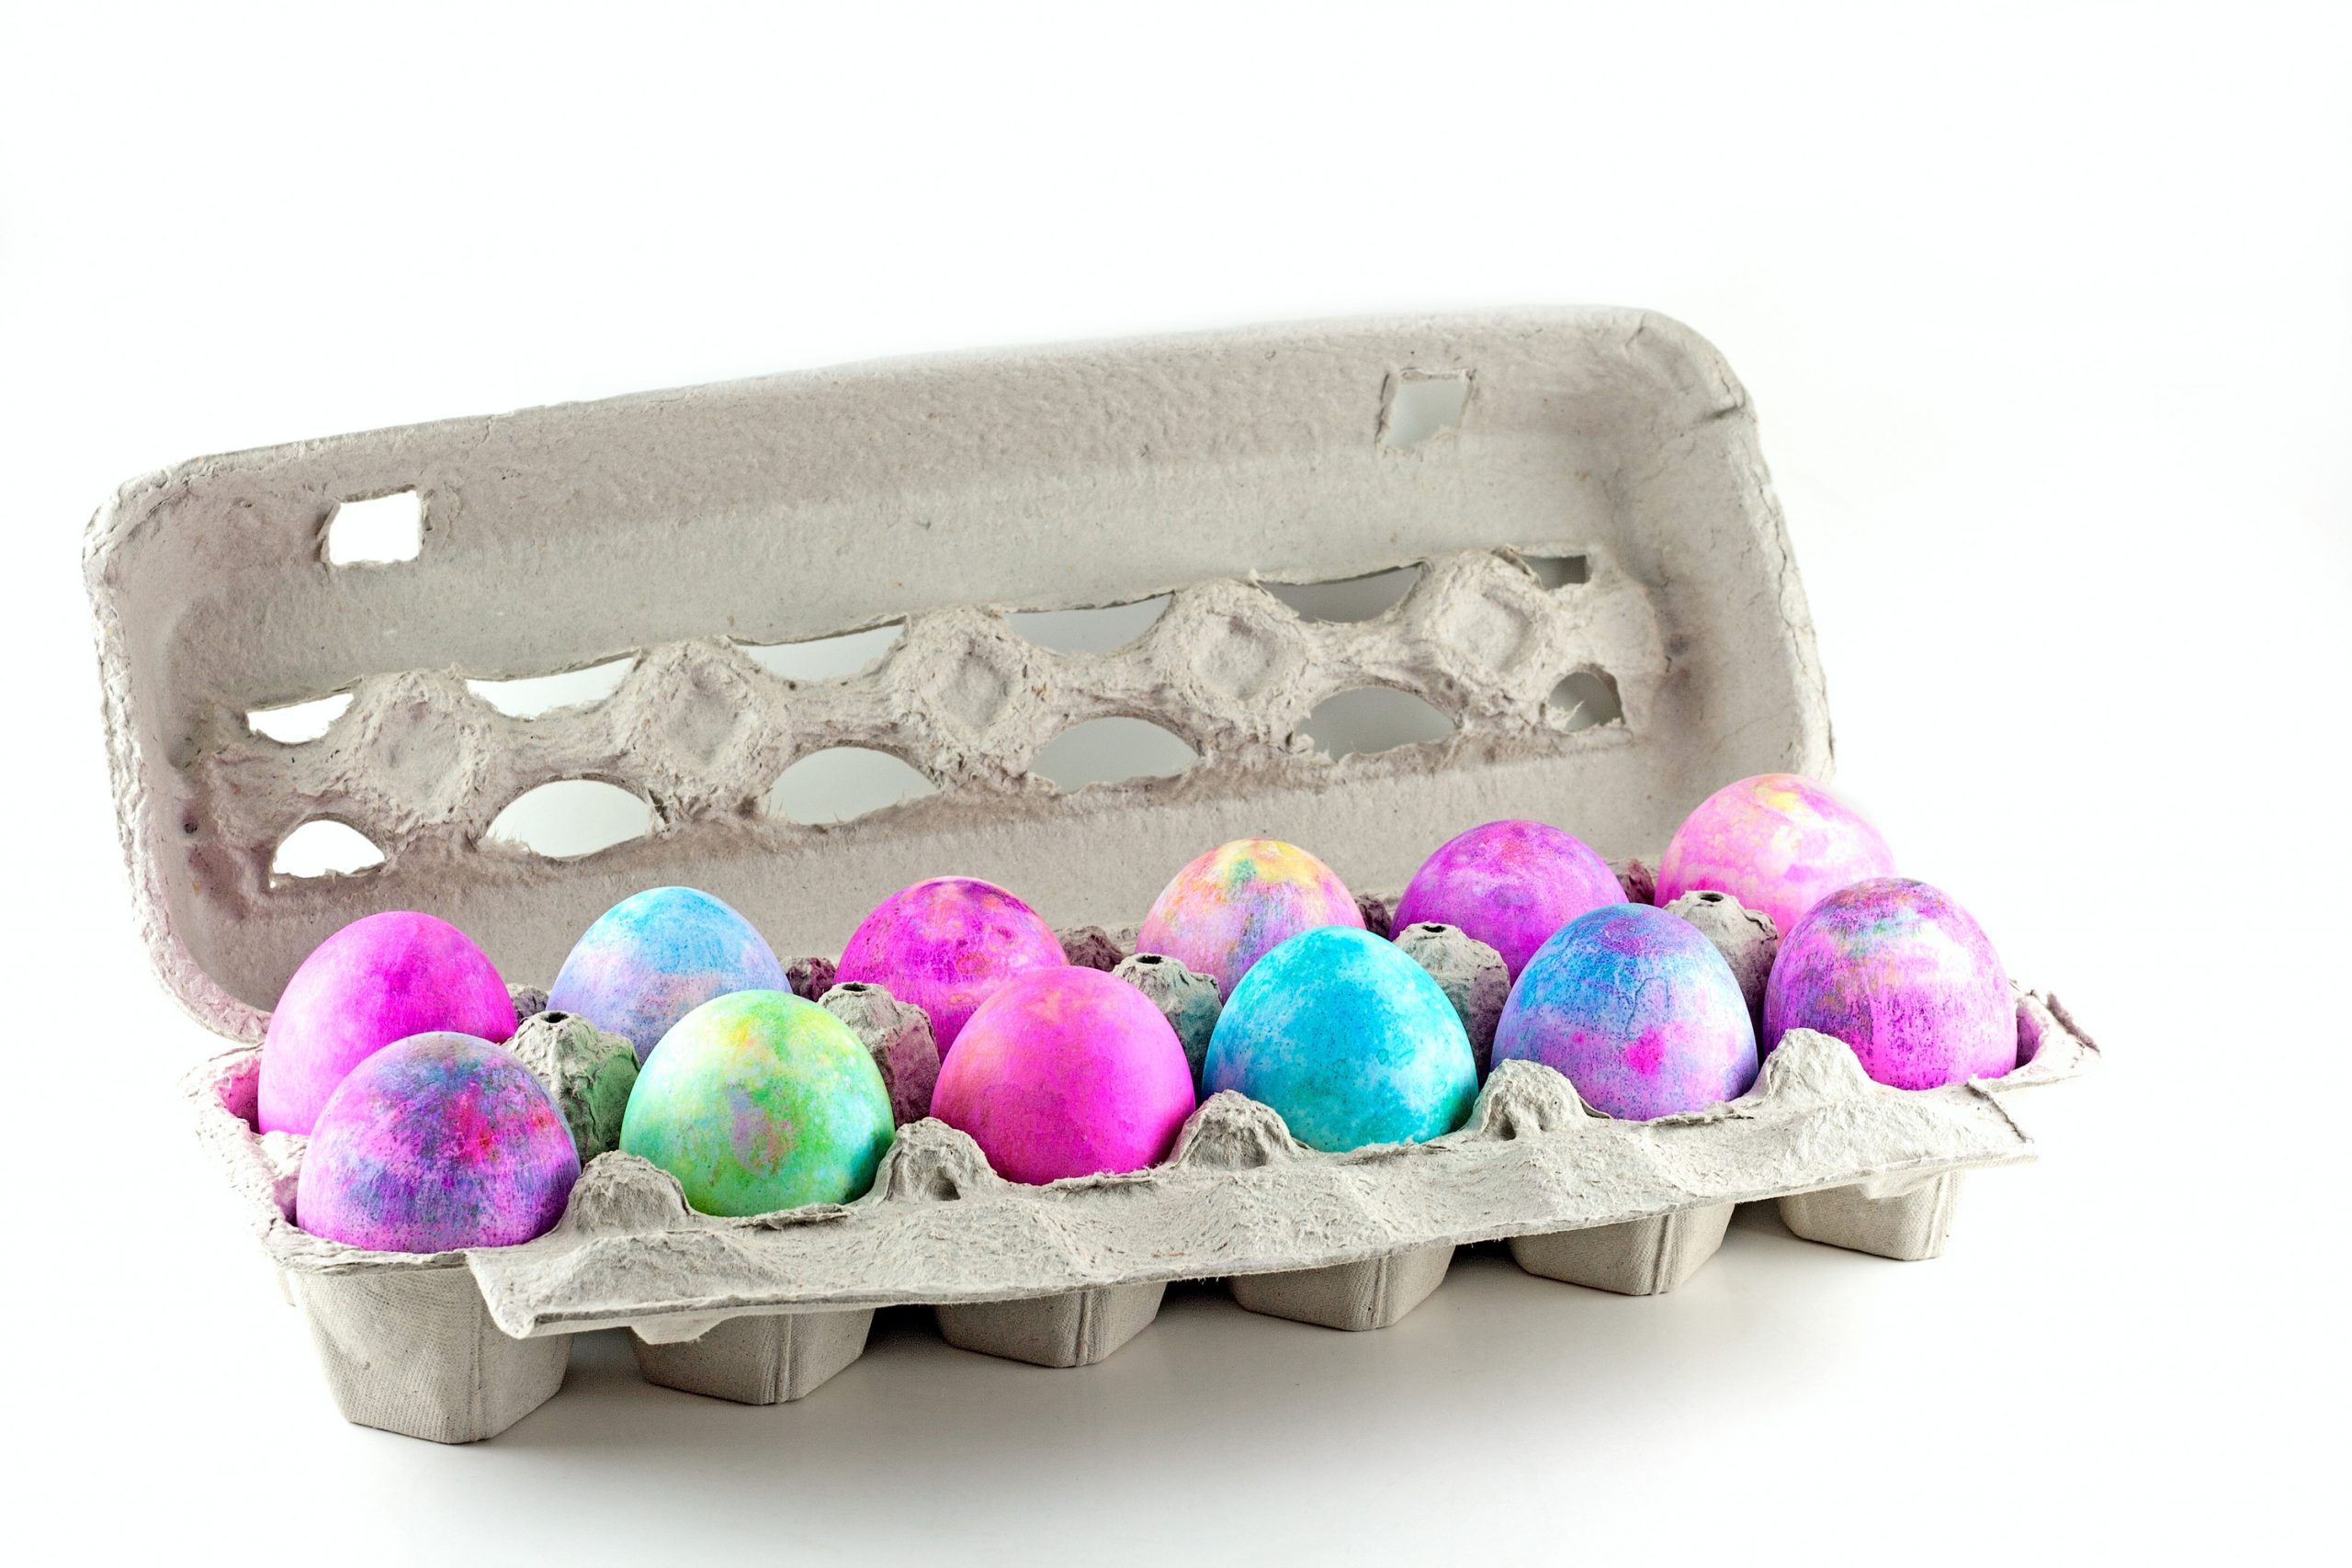
Repeat the process until the eggs are gone or you have no more shaving cream! I feel like these eggs are too pretty to eat!

You might love this look so much that every year you make shaving cream Easter eggs.

Check out these other “hippity happity” Easter ideas:

How to Dye Easter Eggs With All Natural Dyes

16 Easy Easter Treats

A basket full of shaving cream Easter eggs. The eggs have a mix of pink and blue. Shaving cream Easter eggs are very unique and artistic looking.

Filed Under: DIY Crafts And Home Decor, Holidays, Tutorials. Tagged With: Easter Crafts, Easter Eggs, Easy Easy Crafts, How to Dye Easter Eggs, Shaving Cream Easter Eggs

Reader Interactions

Leave a Reply Cancel reply

Your email address will not be published. Required fields are marked *

Primary Sidebar

Newsletter Sign Up

RSS see what’s new

  • Online Sewing Classes – Learn How to Stitch From the Comfort of Your Home
  • Types of Embroidery Stitches – Take Your First Steps towards Learning the Most Engrossing Art
  • Fall Sewing Projects – Quick and Easy Crafty Ideas That Will Keep You Busy in the Fall
  • How to Make Jeans – Make Jeans That Fit Just Right for You
  • Best Sewing Thread – Making Sure Your Stitches Come Out Fine, Consistent, and Long-Lasting
Shelving.com

Copyright © 2023 · Genesis Sample on Genesis Framework · WordPress · Log in