
I’ve been dying to update and revamp the lighting in my basement bathroom. I’ve hated the basic light fixtures since we moved in, but I haven’t been able to decide what I wanted to install in place of it. Just the other day, I found the perfect DIY crystal chandelier project, and I can’t wait to share the DIY with all of you!
Before beginning, you’ll need to head to your local craft (or hardware) store to pick up these necessary supplies:
-A rescued chandelier from the thrift store (don’t pay too close attention to it’s features. Paint will cover everything you hate)
-2 in 1 Spray Paint (with Primer, I like to use Rust Oleum)
–Teardrop Crystals (two orders, depending on size of chandelier)
-Bead Chains (two orders, depending on size of chandelier)

Step #1: Remove existing lightbulbs, beads, and everything else. You should just be working with the “frame” of the chandelier. Cover your chandelier with a coat of spray paint in the desired color. Shake adequately before use, and make sure that you don’t coat the paint on too thickly. Follow the directions on the spray paint for a recommended dry time. Make sure that you follow this recommendation to a tee!
Step #2: After your chandelier has completely dried, it’s time to string the beads across the chandelier. Connect the crystals like you would to the bead chains using the same method as you would a keychain. As soon as your beads are attached to the chain, you need to decide the placement on the chandelier itself. Use hot glue if needed to secure these to the arms of your chandeliers.
Here are a few photos that may help you with chain placement, click the link through for the original project source!
The placement of the beads on the chandelier look retro, and I love it. Designed Decor.

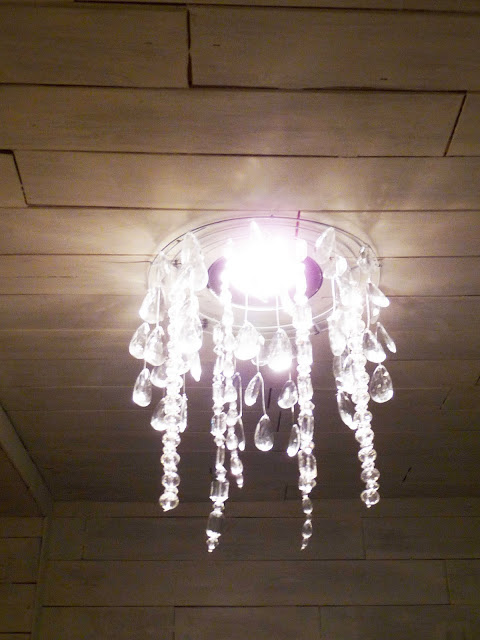
I think my girls would love a simple closet chandelier like this one! You wouldn’t even need a chandelier “frame!” The Happy Hombodies.
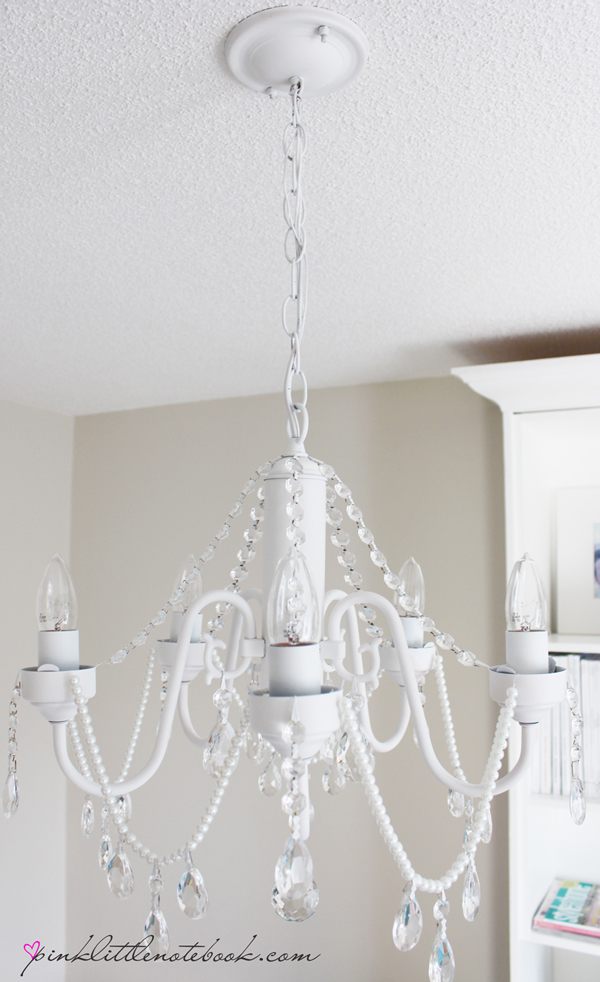
And my personal favorite is this elegant office chandelier from Pink Little Notebook.