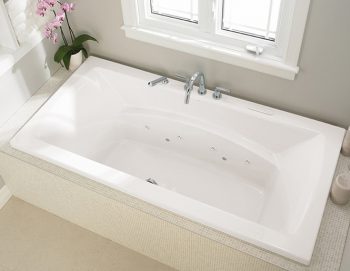

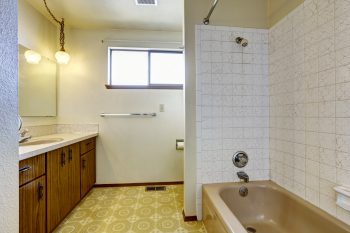
Have you ever just walked into a bathroom and fallen in love? Or, fallen in love with everything except that heinous yellow-tinted bathtub? When we were looking for a new home, I turned down so many homes based on the condition of their bathrooms. Call me high maintenance, but at the time, I wasn’t looking for an elaborate DIY project (oh, how times change!). Little did I know, you can literally save your bathtub with paint, it’s just that easy. My house-buying process would have gone so much smoother! Really! All it takes is a little how-to knowledge (see below!) and one ugly bathtub (I knew that one wouldn’t be hard to find..)
Oh…and these other things…found on Amazon!
-Electric sander or HEAVY duty sandpaper.
-Paint rollers in various sizes (for nooks, crannies, and bathtub curves)
-Paint Sprayer (optional, but provides the best finish)
Step One: Clean. Clean. Clean. Seriously. Go over every part of your tile with your electric sander. Multiple times if you have to! The goal is to remove the glossy finish to give the new paint something to stick to. After you’ve adequately sanded, clean up your dusty mess! Use a vacuum if necessary, because your end result is determined by this step. You’d be amazed at how well dirt and grime show up under the paint! I always use a mask when I’m working in an area of the bathroom on something like this.
Step Two: Break out that epoxy, and keep your mask on! You might even want to break out a fan because it’s time to start working with the paint! Follow the instructions on the Rustoleum Refinish Kit to activate the epoxy.

Step Three: After your epoxy has activated, pour it into your paint sprayer and begin to apply it on your bathtub. If using traditional rollers, make sure that you take care to apply the paint evenly to all surfaces. I like to work in small sections when using traditional rollers to refinish. Recover any areas that may need it. Make sure to take any breaks, should you need them. Epoxy is hard on the lungs, and it’s always a bummer when you faint during your DIY project.
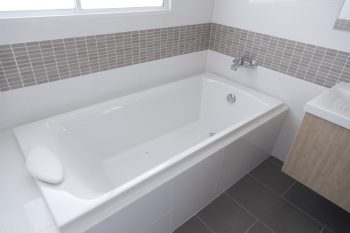
Step Four: Wait the recommended time before exposing your tub to water again. Typically, it’s best to wait 72 hours, and not a moment before. Premature exposure to water can crack or wrinkle the finish on your newly painted tub!