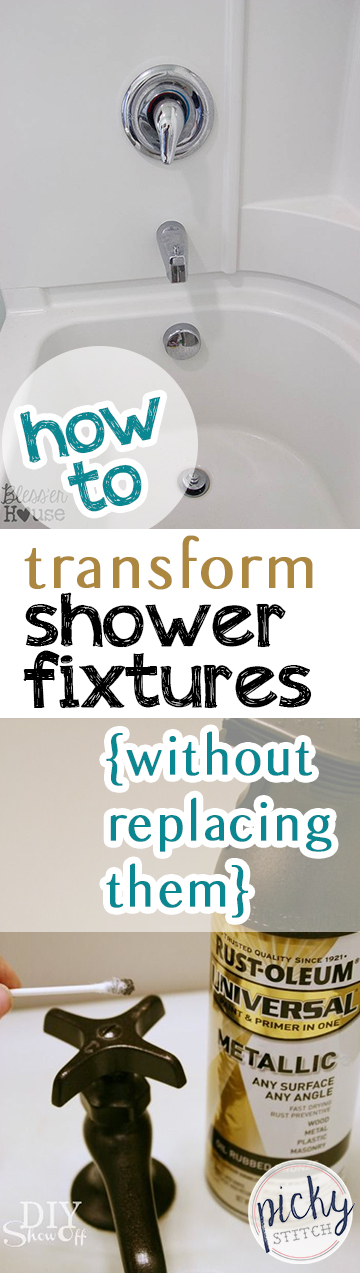
Is it just me, or do shower fixtures look less than desirable; super fast? Even if you keep them super clean, there’s something about that ugly chrome that makes you dream of a different bathroom, with different fixtures….what if I told you that you could get new shower fixtures…without replacing them? I’m totally serious..and here’s what you need:
-drop cloth or an old cloth sheet
-Spray paint in chosen color
-mask/goggles
![]()
Step One: To begin, make sure your shower fixtures are completely dry. Most people won’t shower in their painted area for up to 48 hours prior to the project; but I just waited for 24! After you wait, use painters tape to protect a solid area around your shower fixture. Protect any area that you would be afraid to get spray paint on.
Step Two: After you tape your area, give it a once-over with coarse sandpaper. You will want to remove the finish of the previous paint job, so sand as you see necessary.
**MAKE SURE that you cover any area that you wouldn’t covered with a drop cloth or plastic covering. Spray paint covers a large area…so protect anything you’re dying to keep…i.e. your tiles…
![]()
Step Three: Give any shower or sink fixtures that you wish to re-color with a coat or two of primer. Because of the damp and humid environment, this will ensure that your paint attaches to your fixtures for years to come. Make sure your primer is completely dry before you move on to the next step..
Step Four: Once your primer is dry, give your shower (or sink) fixtures at least 3-4 coats of spray paint. Make sure every coat has fully dried in between…this should take 30 or so minutes. It’s crucial that you wait the adequate amount of time between paintings before you move on.

Step Five: After you wait the designated amount of time for your fixtures to dry…apply a glossy laquer spray to seal and keep the project looking great for years to come.
Step Five: Once the laquer is fully dried, remove the painters tape and enjoy your brand new shower and sink fixtures. Doesn’t it look like you got an entirely new bathroom? I love low-effort upgrades!
**Make sure all the paint has dried for a full 24 hours before you attempt to use the shower or bathroom. It definitely takes a few days…but I think this DIY project is completely worth it!